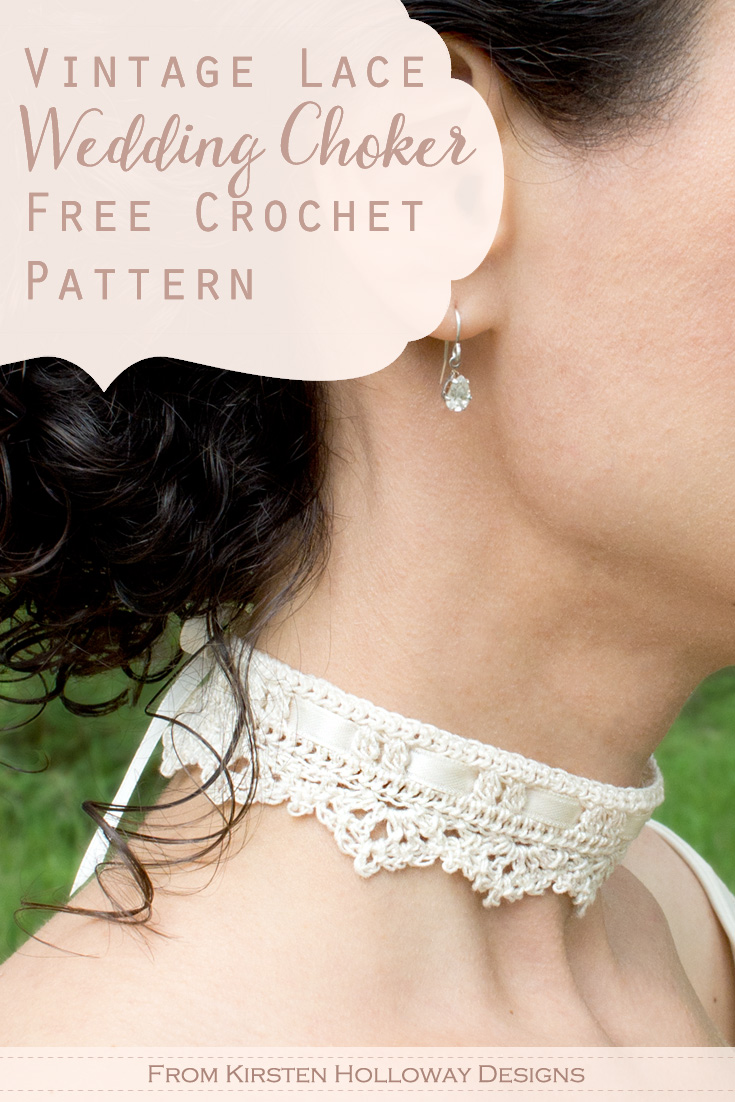
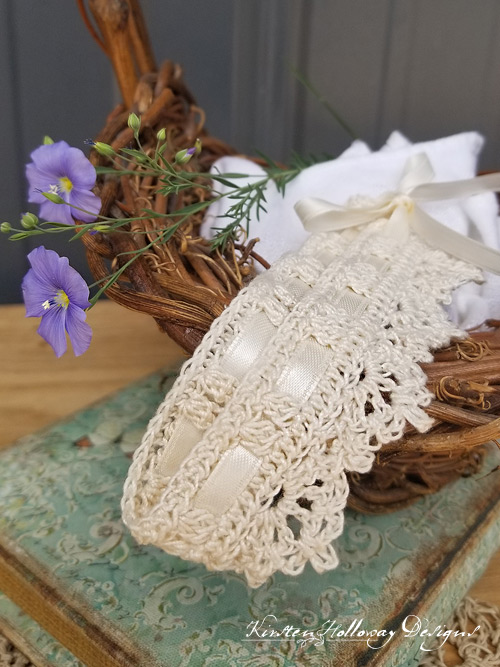
Sometimes, when it comes to wedding accessories, a simple crochet choker can add so much to the over-all look. This DIY lace crochet bridal choker pattern is elegant without being over done, and the best part is that you can crochet it in an evening! Find the free crochet pattern instructions below, or purchase a print-optimized, ad-free PDF by clicking here.
Click here to add this to your Ravelry queue!
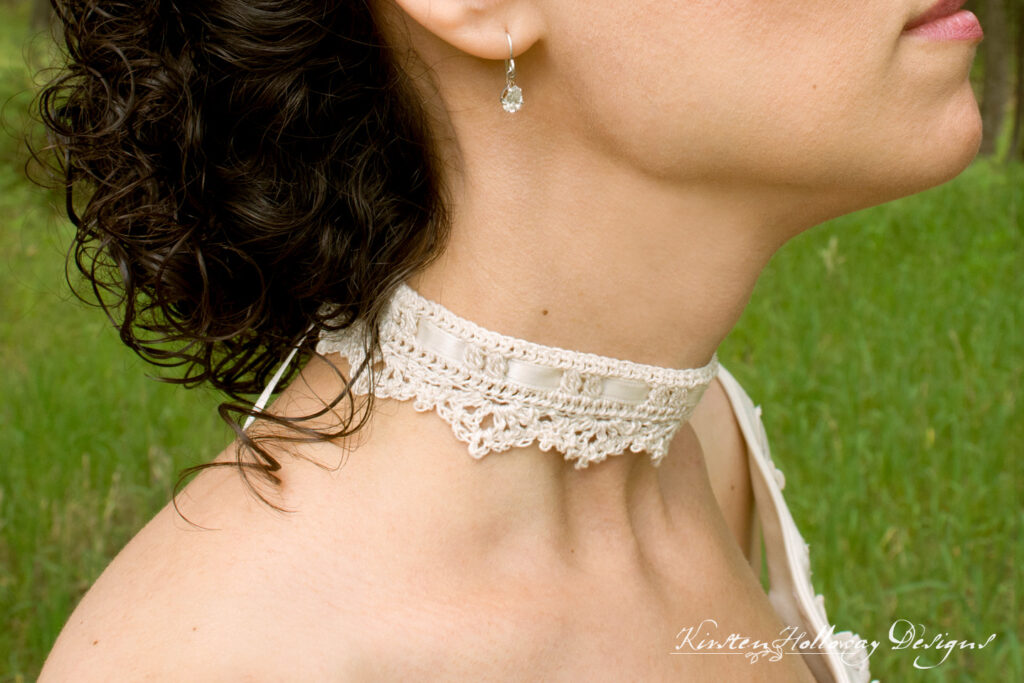
Crochet adds a personalized touch to any wedding and the sky’s the limit when it comes to customizing this delicate lace choker. Weave the ribbon tie through in the color of your choice to either match the crochet thread used, or to match the bridesmaids dresses.
Complete the bridal set: You can find a crochet pattern for lace fingerless gloves that will go with the choker very nicely, and a matching garter pattern as well. Wedding problems solved! Well, almost. 😄
Disclaimer: This post contains affiliate links. When you purchase something using these links a small amount of the sales price goes to me to help keep this site, and the patterns on it free. You do not pay any extra for the item you purchase.
Difficulty:
Intermediate
Materials Needed:
1.5mm steel hook, or hook needed to obtain gauge
Approx. 50 yards of Aunt Lydia’s #10 crochet thread in “Ecru” or color of your choice
scissors
yarn needle
1 yard of ¼” ribbon
fray check or clear nail polish
Stitches Used:
sl st = slip stitch
ch= chain
sc = single crochet
hdc = half double crochet
dc = double crochet
Additional Terms:
3dc cluster: this is basically a “dc3tog” in the same stitch: yo, pull up a loop, pull through two loops leaving 2 loops on your hook, yo, pull up a loop, pull through 2 loops leaving 3 loops on your hook, yo, pull up a loop, pull through 2 loops leaving 4 loops on your hook, yo, then pull through all 4 loops.
st/sts = stitch/stitches
sp/sps = space/spaces
Gauge:
30 stitches in 4”
Measurements:
11” long by 1 1/4″ wide (not including ribbon). The average woman’s neck circumference is 13.5” around.
Additional Notes:
-ch 1 does not count as a stitch in this pattern.
-You will need to know the person’s neck circumference that you are making this for before cutting the ribbon down.
-One other use for this crochet lace pattern would be to turn it into a baby headband/crown–it might even work as a flower girl headband!
-Add 9 chains to the beginning chain to make it an inch longer.
Wrapped in Lace Choker Pattern (US Terms):
Click here to purchase an ad-free, print-optimized PDF of this pattern on LoveCrafts
OR
Pick up the printable version of this pattern on Etsy instead
ch 82,
Row 1: hdc in 3rd ch from hook, hdc in each ch across, turn. (81)
Row 2: ch 3 (counts as first dc), 3dc cluster in next st, ch 1, sk st *3dc cluster in next st, ch 1, sk st; repeat from * across, in final repeat omit ch-1 and place a dc in the final stitch of row instead of skipping a stitch, turn. (40 3dc clusters)
Row 3: ch 2 (counts as first hdc), hdc in each s across, turn. (81)
Row 4: *ch 3, sk 2 sts, sl st in next st; repeat from * across, turn. (27 ch-3 sps)
Row 5: ch 1, sc in first ch-3 sp, in next ch-3 sp work: ([dc, ch 1] 4 times, dc), sl st into next ch-3 sp, ch 3, *sl st in next ch-3 sp,in next ch-3 sp work: ([dc, ch 1] 4 times, dc), sl st into next ch-3 sp, ch 3,* When there are 2 ch-3 sps left, work: ([dc, ch 1] 4 times, dc), sc in final ch-3 sp, turn. (9 shells, 8 ch-3 sps)
Row 6: sl st into first dc of shell, ch 3, sl st into ch-1 sp, ch 3, sl st into next ch-1 sp, ch 3, sl st into same ch-1 sp, ch 3, sl st into next ch-1 sp, ch 3, sl st into final ch-1 sp, move to next ch-3 sp, sc, ch 3, sl st back into sc creating a picot, *sl st into next dc, ch 3, sl st into ch-1 sp, ch 3, sl st into next ch-1 sp, ch 3, sl st into same ch-1 sp, ch 3, sl st into next ch-1 sp, ch 3, sl st into final ch-1 sp, move to next ch-3 sp, sc, ch 3, sl st back into sc creating a picot; repeat from * across, when you get to the final shell work the following sequence: sl st into next dc, ch 3, sl st into ch-1 sp, ch 3, sl st into next ch-1 sp, ch 3, sl st into same ch-1 sp, ch 3, sl st into next ch-1 sp, ch 3, sl st into final ch-1 sp.
Turn choker sideways and sc along the edge (approximately 10 stitches)
Cut thread, and attach to the other end of the choker and sc down that side.
Fasten off and weave in ends.
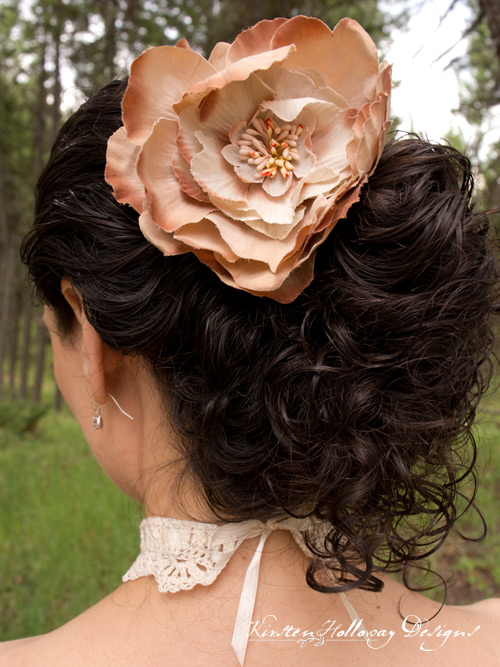
Thread 1 yard of ribbon through row 2, skipping the first 3dc cluster (this ensures the ribbon is spaced evenly on both ends of the choker). Trim ends to the length you want. Coat ends with fray check or clear nail polish to prevent fraying.
If you are looking for even more lace accessories, check out this article on All Free Crochet which features the Wrapped in Lace crochet lace choker you just finished and 33 additional lace patterns!

Want more gorgeous crochet patterns, and a little encouragement for your day? Sign up for my newsletter here! That way you’ll never miss out on special events, or freebies I’m offering.
JOIN ME ON SOCIAL MEDIA
I would love to see a picture when you’re done, so please feel free to come by my Facebook group and show off your project! Be sure to tag @kirstenhollowaydesigns when you share pictures of your finished scarf on Instagram, and use #primroseandpropersuperscarf!
You can also follow me on Facebook, Pinterest, Instagram, and Ravelry for more beautiful crochet patterns.
PATTERN TERMS AND CONDITIONS:
You are welcome to share the link to this pattern, using one image of your choice, on your site, but please do not share the written patterns themselves, this includes my Ravelry downloads or translations of these patterns, or use additional images. You do not have permission to use my images by themselves to create pinnable graphics for Pinterest, however they may be included in a roundup pin if there are 4 or more other patterns. If you sell finished items online, please do not use my pictures for your listings. I’m positive that your work is of high enough quality for you to sell the finished piece. Have confidence in your abilities! <3 Thank you!
This pattern was made to be used by individuals, and small business crocheters alike. Selling your finished pieces in boutiques, at farmer’s markets, craft shows, and other local events is encouraged! The only thing I require is that this pattern not be used commercially to produce hundreds of thousands of copies.
If you enjoyed this pattern or found it useful, why not share a link to this post with your friends?
