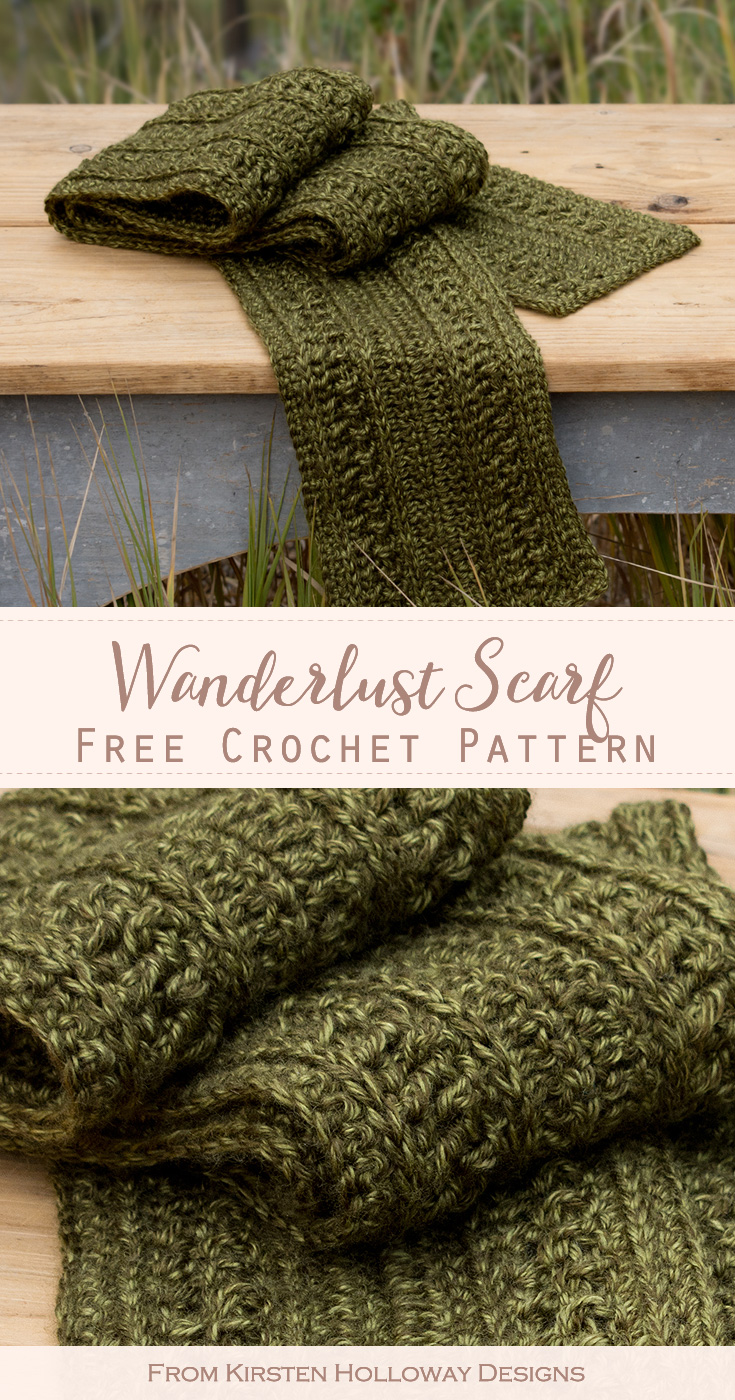
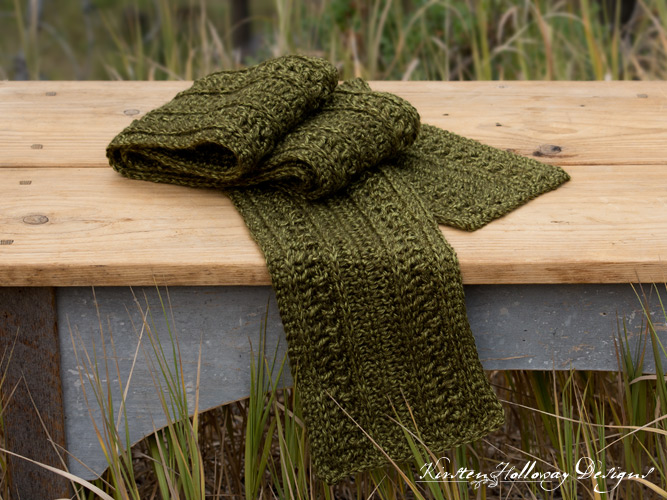
Stay extra warm and cozy on any adventures you have this fall and winter, with the Wanderlust scarf! This free crochet pattern is full of texture and easy stitches which makes it a quick project to work on, and the best thing is that this style works for men or women! Find the free pattern instructions below, or purchase a print-optimized, ad-free PDF by clicking here.
Click here to add this pattern to your Ravelry queue!
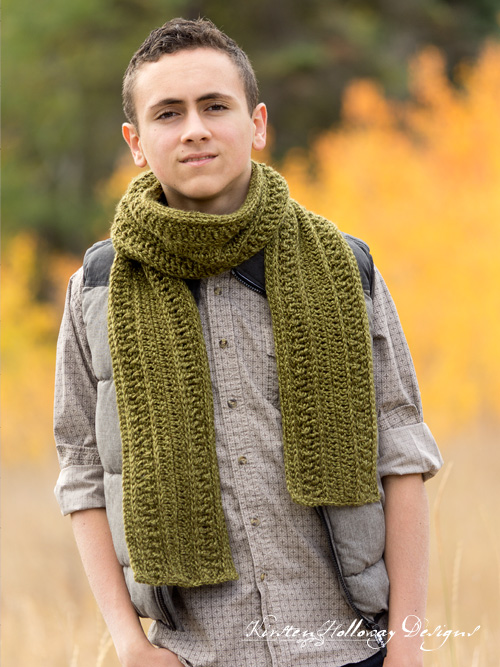
So many of you mentioned that you loved the Wanderlust beanie, and how simple it was to make, that I had to design a scarf to go with it! Just like the hat, this unisex scarf is made with the Lion Brand “Heartland” line, which I can’t talk about enough. It’s my current favorite yarn for a few reasons: 1. The slight variations in color really make a finished piece look special, and I’m all about looking “expensive” while not breaking my budget! 2. This yarn is soft, has gorgeous drape, and feels so nice to work with which isn’t always the case for acrylic yarns. 3. Did I mention how soft this yarn is?
Moving on…
Wanderlust Scarf Basics
There are some differences in the way this scarf is worked (rows), compared to the hat which is worked in the round, but I have also included an infinity scarf/cowl version that is worked very similarly to the hat, and won’t have any “wrong side” rows facing the front, as the regular scarf does (should that kind of thing bug you). This yarn hides most of that though, as you can see in my preview pictures, but some of you might be perfectionists (like me), and so I wanted to disclose that up front. 🙂
Wanderlust Scarf Finishing Ideas
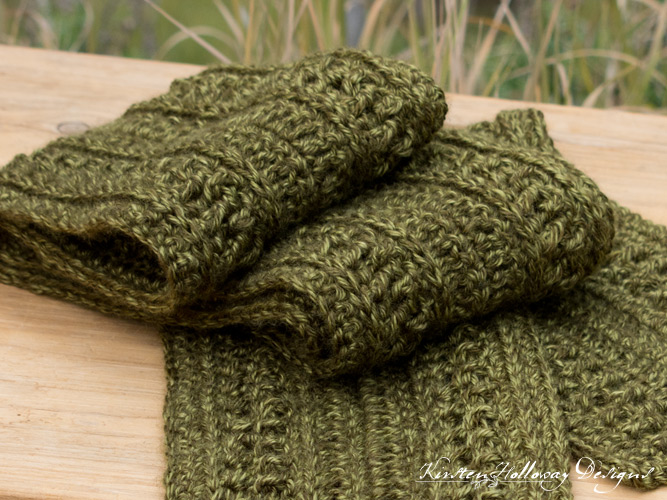
In addition to the two different scarf options in today’s post, I’ve also included finishing ideas for both tassels and fringe if you think it needs some extra pizzazz. Unfortunately, it’s been very smokey up in my neck of the woods, and good lighting has been in an issue, so the details aren’t popping out as much in these pictures as they should in real life. If you want to get a better idea of the texture, then take a peek over at the matching beanie. That picture gives you a much better idea of how the texture for this scarf will turn out.
Disclaimer: This post may contain affiliate links. When you purchase something using these links a small amount of the sales price goes to me to help keep this site, and the patterns on it free. However, you do not pay any extra for the item you purchase.
Difficulty:
Easy
Materials Needed:
5.5mm (I) hook, or hook needed to obtain gauge
350-550 yards Lion Brand Yarn Heartland in “Joshua Tree”
Yarn needle
Scissors
Stitches Used:
ch = chain
sc = single crochet
hdc = half double crochet
dc = double crochet
FPdc = front post double crochet
BPdc = back post double crochet
Additional Terms:
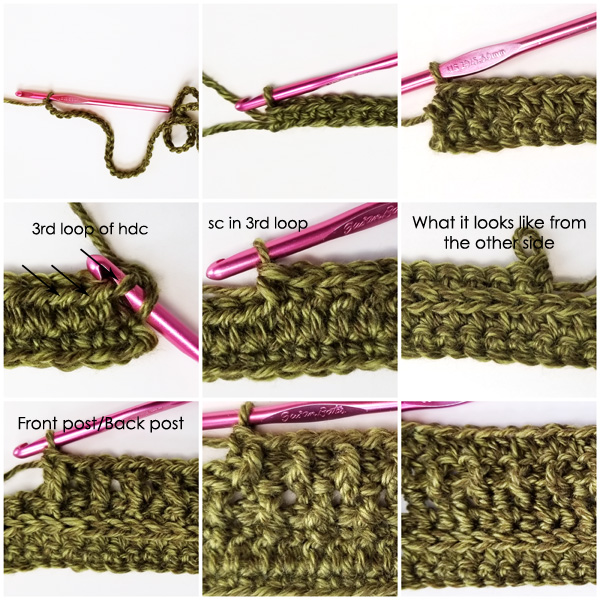
hdc in the 3rd loop: work all stitches for the round in the 3rd loop of the hdc from previous row. Instructions (when looking at your completed row, before you turn): Look at the top of the stitch, and locate the sideways “V”, bend the stitch to look at the back, and you should see another “V”. You’ll be working into the back loop of that “V”, this is called the 3rd loop.
Gauge:
13 dc stitches in 4″
Measurements:
About 6 ft (7 ft, 8 ft) long, by 6″ wide
Additional Notes:
-ch-1 at beginning of row does not count as a stitch.
-If you would like to make a cowl, or infinity scarf instead, I’ve included those instructions below the regular scarf instructions. You will be working in the round, so things will be slightly different, and constructed more like the matching Wanderlust beanie.
-You could even make this into an afghan! Try a starting chain of 268 for a 7 ft wide blanket, and 306 for an 8 ft wide blanket. Keep repeating rows 2-6 until your blanket is as long as you’d like it. This pattern is written in multiples of 2 + 1.
Wanderlust Scarf Crochet Pattern (US Terms):
Click here to purchase an ad-free, print-optimized PDF of this pattern on LoveCrafts
OR
Pick up the printable version of this pattern on Etsy instead
Ch 230, (268, 306),
Row 1: sc in second ch from hook, sc in each st across, ch 1, turn. (229, [267, 305])
Row 2: hdc in each st across, ch 1, turn. (229, [267, 305])
Row 3: working in 3rd loop of hdc, sc in each st across, ch 1, turn. (229, [267, 305])
Row 4: dc in first st, FPdc around next st, *BPdc around next st, FPdc around next st; repeat from * across, dc in final st of row, ch 1 turn. (229, [267, 305])
You will now work what looks like the opposite post stitch around post stitches from row 4, ie. front post sts around back post sts and vice-versa, but because of the row turn you are actually working the same stitch sequence as you did last row. This creates the bumpy texture that is famous to this scarf.
Row 5: dc in first st, *FPdc around FPdc, BPdc around BPdc; repeat from * across, when you get to final 2 sts of row, FPdc around FPdc, dc in final stitch, ch 1, turn. (229, [267, 305])
Row 6: hdc in each st across, ch 1, turn. (229, [267, 305])
Row 7: working in 3rd loop of hdc, dc in each st across, ch 1, turn. (229, [267, 305])
Row 8: sc in each st across, ch 1, turn. (229, [267, 305])
Row 9: dc in each st across, ch 1, turn. (229, [267, 305])
Repeat rows 2-6 one more time
Row 15: working in 3rd loop of hdc, sc in each st across, ch 1, turn. (229, [267, 305])
Row 16: sc in each st across. (229, [267, 305])
Turn scarf sideways and sc along the end
Fasten off, and weave in ends
Join yarn to other end of scarf, and sc along that end
Fasten off, and weave in ends
Optional fringe or tassels for the Wanderlust Scarf:
Fringe:
Cut 3 pieces of fringe 12″ in length, fold in half, then loop it through the first stitch at the end of the scarf. Repeat across the ends in each stitch until your fringe is as thick as you’d like.
Tassel (make 2 for each end):
Cut 18 12″ pieces of yarn. Tie piece of yarn around the center of the strands Fold in half and tie another piece of yarn around the tassel, about an inch or so the top. Attach each tassel securely to a corner of the scarf.
(Keep scrolling down for the Infinity Scarf)
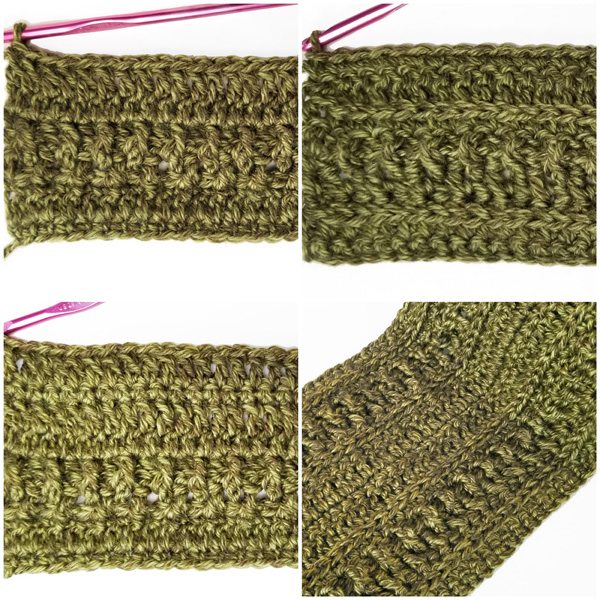
If you’re a beginner, then these images may help you make sense of the stitches and how they should look after each row is completed:
Wanderlust Crochet Infinity Scarf Pattern (US Terms):
Click here to purchase an ad-free, print-optimized PDF of this pattern on LoveCrafts
The sizes are:
60 = 18″ cowl,
78 = 24″ cowl,
118 = 36″ cowl,
228 = 6′ cowl
Ch 60, (78, 118, 228), join with sl st to first ch, taking extra care to not twist chain.
Round 1: ch 1, hdc in each st around, join with sl st to first hdc. (60, [78, 118, 228])
Round 2: ch 1, working in the 3rd loop of hdc, sc in each st around, join with sl st to first sc. (60, [78, 118, 228])
Round 3: ch 1, FPdc around first st, BPdc around next st, *FPdc around next st, BPdc around next st; repeat from * around, join with sl st to first FPdc. (60, [78, 118, 228])
(You will be alternating here and working FP stitches around the BP stitches, and vice-versa. This is intentional)
Round 4: ch 1, BPdc around first FPdc, FPdc around next BPdc *BPdc around next FPdc, FPdc around next BPdc; repeat from * around, join with sl st to first BPdc. (60, [78, 118, 228])
Round 5: ch 1, hdc in each st around, join with sl st to first hdc. (60, [78, 118, 228])
Round 6: ch 1, working in the 3rd loop of hdc, dc in each st around, join with sl st to first dc. (60, [78, 118, 228])
Round 7: ch 1, sc in each st around, join with sl st to first sc. (60, [78, 118, 228])
Round 8: ch 1, dc in each st around, join with sl st to first dc. (60, [78, 118, 228])
Repeat rounds 1-8 one more time, or until your cowl is as long as you want it, then finish with the ending:
Round 17: ch 1, hdc in each st around, join with sl st to first sc. (60, [78, 118, 228])
Round 18: ch 1, working in the 3rd loop of hdc, hdc in each st around, join with sl st to first sc. (60, [78, 118, 228])
Fasten off, and weave in ends.
Want more gorgeous crochet patterns, and a little encouragement for your day? Sign up for my newsletter here! That way you’ll never miss out on special events, or freebies I’m offering.
JOIN ME ON SOCIAL MEDIA
I would love to see a picture when you’re done, so please feel free to come by my Facebook group and show off your project! Be sure to tag @kirstenhollowaydesigns when you share pictures of your finished scarf on Instagram, and use #wanderlustscarf
You can also follow me on Facebook, Pinterest, Instagram, and Ravelry for more beautiful crochet patterns.
PATTERN TERMS AND CONDITIONS:
You are welcome to share the link to this pattern, using one image of your choice, on your site, but please do not share the written patterns themselves, this includes my Ravelry downloads or translations of these patterns, or use additional images. You do not have permission to use my images by themselves to create pinnable graphics for Pinterest, however they may be included in a roundup pin if there are 4 or more other patterns. If you sell finished items online, please do not use my pictures for your listings. I’m positive that your work is of high enough quality for you to sell the finished piece. Have confidence in your abilities! <3 Thank you!
This pattern was made to be used by individuals, and small business crocheters alike. Selling your finished pieces in boutiques, at farmer’s markets, craft shows, and other local events is encouraged! The only thing I require is that this pattern not be used commercially to produce hundreds of thousands of copies.
If you enjoyed this pattern or found it useful, why not share a link to this post with your friends?