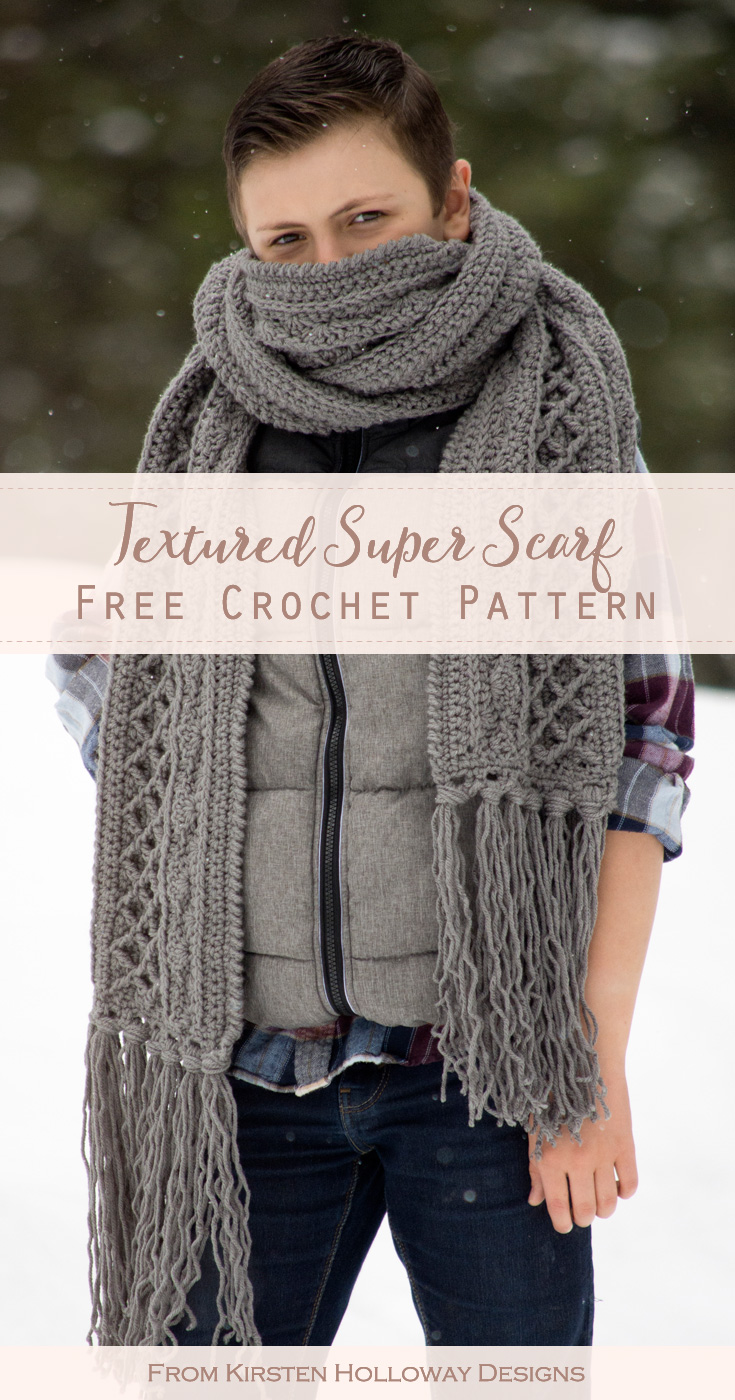
This crochet super scarf is sure to keep you, your spouse or even your older kids and teens warm whatever the weather throws at you this winter! Because it is just over 9 feet long, you can wrap the crochet super scarf multiple times, or even worn as a hooded scarf with some modifications included in the notes section. Find the free crochet pattern instructions below, or purchase a print-optimized, ad-free PDF by clicking here.
Click here to add this to your Ravelry queue!
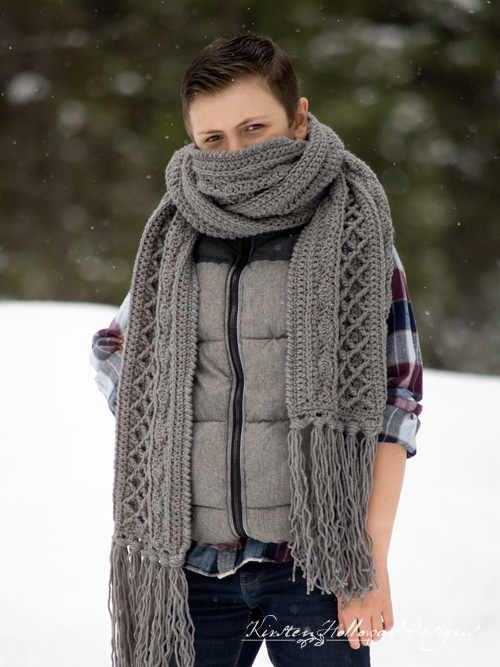
With a little convincing I got my 12 year old camera-shy son to model for me, and it could be because I’m his mom (I’m allowed to have biased opinions, right?), but I think he looks very fashionable in this super scarf. He even styled it himself, and tried to pose like I do–the little ham! You know there’s a big cheesy, dimpled grin under that scarf. Aren’t kids great?
- Make it a set with the Snow Country Ski Beanie pattern which matches this scarf.
Free Crochet Super Scarf Pattern for Winter
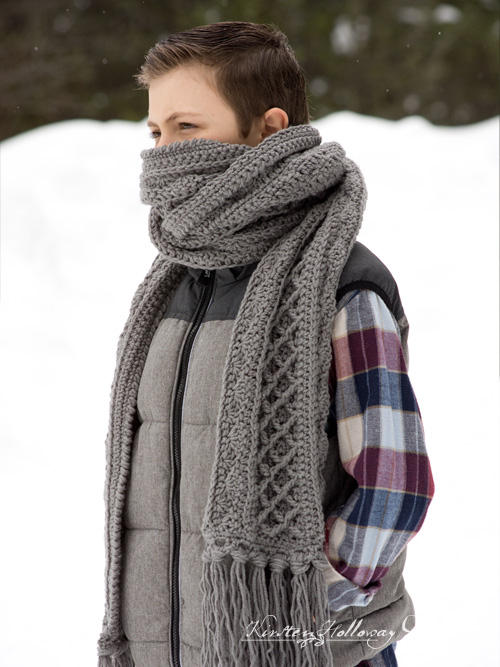
Winter is almost over, unless you live in the northern part of the US or Canada, in which case you may have another month or so of snowy weather to contend with. There’s no excuse for staying indoors though with a super scarf like this to keep you cozy! I used Red Heart With Love which is soft and warm, and the thick, double layer of criss-crossed diamond stitches make it even warmer.
The most tricky thing to crochet in this super scarf pattern are the diamond stitches. Most of the time the stitch will be worked in two parts as a treble crochet 2 together. You are also crocheting this stitch along two different rows, placing the treble crochet stitches two rows below where you are working the single crochet stitches. Take the scarf pattern one comma at a time if you’re confused and that should help.
Disclaimer: This post contains affiliate links. When you purchase something using these links a small percentage of the sales price goes to me. However, you do not pay any extra for the item you purchase.
Difficulty:
Intermediate
Materials Needed:
5.5mm (I) hook, or hook needed to obtain gauge
775-800 yards of #4 worsted weight Red Heart With Love in “Pewter”
scissors
yarn needle
measuring tape
Stitches Used:
sl st = slip stitch
ch= chain
sc = single crochet
hdc = half double crochet
dc = double crochet
FPtr = front post treble crochet
FPtr2tog = front post treble crochet 2 together
st/sts = stitch/stitches
Additional Terms:
-Crab Stitch (also known as reverse single crochet or “rsc”). Begin forming this stitch as you would make a normal single crochet. However, at the end, you move backward, working your next crab stitch into the previous stitch, and not the “next stitch” (ahead). If you get stuck, check out this helpful video from Moogly.
Working in the 3rd Loop of hdc – Instructions: Look at the top of the stitch, and locate the sideways “V”, bend the stitch to look at the back and you should see another “V” made by the “yarn over”. You’ll be working into the back loop of that “V”. This is called the 3rd loop. When you are working in rows, this 3rd loop will be facing you after you turn!
WS = wrong side
RS = right side
Gauge:
11 hdc stitches in 4”
Measurements:
Approximately 9′ long, including fringe, by 9″ wide
Additional Notes:
-Ch 1 at the beginning of a row is not counted as a stitch, ch 2 is counted as a stitch
-The crab stitch edging is optional, but will give the crochet super scarf a more finished, professional look. Some people may find their edge is more even when they go down a hook size or two for this step.
-This scarf can be made into a hooded scarf! When you’re done, fold your scarf in half, and sew the back edges together down about 12 inches to create a “hood”.
-This scarf can also be turned into an afghan! Start at row 1, then once you get to Row 21 repeat rows 5-21 until your afghan is the length (width) you want, and then finish with rows 22 and 23. Add the edging of your choice once you’re done.
-So maybe you don’t need a 9′ long scarf? If you want to adjust the length: this crochet super scarf pattern is worked in multiples of 12+1, (plus one for the first row’s turning chain)
-If you can’t find Red Heart With Love yarn locally, Red Heart Super Saver, Hobby Lobby’s I Love this Yarn, and Lion Brand Vanna’s Choice should be fairly close substitutes.
Snow Country Crochet Super Scarf Pattern (US Terms):
Click here to purchase an ad-free, print-optimized PDF of this pattern on LoveCrafts
OR
Pick up the printable version of this pattern on Etsy instead
Chain 254,
Row 1 (RS): sc in second ch from hook, sc in each st across, ch 1, turn. (253)
Row 2 (WS): sc in each st across, ch 2 (counts as first hdc of next row), turn. (253)
Row 3 (RS): hdc in each st across, ch 1, turn. (253)
Here’s where you will start to make your first “ridge” texture along the front. Working in the 3rd loop (or “yarn over”) in this next row pushes the top of the stitch forward to the front of the scarf. Since you are working in rows, and since row 4 in considered the “wrong side” of the scarf, the top of the stitch will actually be pushed away from you, but you’ll see it when you start crocheting the shell stitch in row 5.
Row 4 (WS): working in the 3rd loop of hdc, sc in each st across, place final sc of row in the top of the ch-2 from the prev row, ch 1, turn. (253)
In rows 5 and 6 you will be crocheting the shell stitch.
Row 5 (RS): sc in first st, *sk 2 sts, 5 dc in next st, sk 2 sts, sl st in next st; repeat from * across, on final repeat omit sl st and sc instead, ch 1, turn. (42 shells, 2 sc)
Row 6 (WS) : 3 dc in first sc, sk 2 sts, sl st in next st, *sk 2 sts, 5 dc in next st (this will be the sl st between the shells), sk 2 sts, sl st in next st; Repeat from *across, when you get to the end of the row work 3 dc in final sc, ch 2 (counts as first hdc of next row), turn. (41 shells, 2 half-shells)
Row 7 (RS): hdc in each st across, ch 1, turn. (253)
Row 8 (WS): working in the 3rd loop of the hdc from previous row, sc in each st across, ch 1, turn. (253)
In rows 9-15 you will be working the diamond stitch. You will be working across two different rows at the same time in rows 11, 13, and 15. The design you create in these steps should show up on the front of the scarf along with the ridges created earlier by working sc sts in the 3rd loop of the hdc sts from rows 3 and 7.
Row 9 (RS): sc in each st across, ch 1, turn. (253)
Row 10 (WS): dc in each st across, ch 1, turn. (253)
Row 11 (RS): FPtr around the 2nd sc of row 9, sc in next 3 sts. FPtr2tog, placing first leg around same sc in row 9 that you just worked first FPtr around, move forward 3 sts in row 9, place second leg of FPtr2tog around 4th sc, sc in next 3 sts of current row, *FPtr2tog, placing first leg around same sc in row 9 that you worked last leg of prev FPtr2tog around, skip forward 3 sts in row 9, place second leg of FPtr2tog around 4th sc, sc in next 3 sts of current row; repeat from * across, when you get to last stitch in row, FPtr around the last FPtr2tog leg you made, before you finish the FPtr, when there are 2 loops left on your hook, insert hook into last st of row, YO, pull through all remaining loops, ch 1, turn. (253)
Row 12 (WS): dc in each st across, ch 1, turn. (253)
Row 13 (RS): sc in each of the next 2 sts, FPtr2tog, placing first leg around top of first FPtr from row 11, place second leg around next FPtr2tog from row 11. *sc in each of the next 3 sts, FPtr2tog placing first leg around the top of the FPtr2tog in row 11 that you just came off of, place the second leg of the FPtr2tog around the next FPtr2tog from row 11; repeat from * across, sc in final 2 sts of row, ch 1, turn. (253)
Row 14 (WS): dc in each st across, ch 1, turn. (253)
Row 15 (RS): FPtr around first FPtr2tog of row 13, sc in next 3 sts. FPtr2tog, placing first leg around same post stitch in row 13 that you just worked first FPtr around, move forward 3 sts in row 13, place second leg of FPtr2tog around next post st, sc in next 3 sts of current row, *FPtr2tog, placing first leg around same post stitch in row 13 that you worked last leg of prev FPtr2tog around, skip forward 3 sts in row 13, place second leg of FPtr2tog around next post st, sc in next 3 sts of current row; repeat from * across, when you get to last stitch in row, FPtr around the last FPtr2tog leg you made, before you finish the FPtr, when there are 2 loops left on your hook, insert hook into last st of row, YO, pull through all remaining loops, ch 1, turn. (253)
Row 16 (WS): sc in each st across, ch 2 (counts as first hdc st of next row), turn. (253)
Row 17 (RS): hdc in each st across, ch 1, turn. (253)
Row 18 (WS): working in 3rd loop of hdc, sc in each st across, ch 1, turn. (253)
In rows 19 and 20 you will be crocheting the shell stitch again.
Row 19 (RS): sc in first st, *sk 2 sts, 5 dc in next st, sk 2 sts, sl st in next st; repeat from * across, on final repeat put a sc at the end instead of a sl st, ch 1, turn. (42 shells, 2 sc)
Row 20 (WS): 3 dc in first sc, sk 2 sts, sl st in the next, *sk 2 sts, 5 dc in next st (this will be the sl st between the shells), sk 2 sts, sl st in next st; repeat from * across, when you get to the end of the row work 3 dc in final sc, ch 2 (counts as first hdc of next row), turn. (41 shells, 2 half-shells)
Row 21 (RS): hdc in each st across, ch 1 turn. (253)
Row 22 (WS): working in 3rd loop of hdc, sc in each st across, ch 1, turn. (253)
Rows 23-24 (RS, WS): sc in each st across, ch 1, turn. (253)
Fasten off, and weave in ends.
Working the scarf ends:
Note: If you do not want to put fringe on the end, simply attach the yarn to the end and do 2 or 3 rows of sc, then fasten off
Attach yarn to one end of scarf, with right side (RS) facing you,
Row 1: work 27 sc across end, ch 1, turn. (27)
Row 2: sc in first st, ch 2, sk st, *sc in next 2 sts, ch 2, sk st; repeat from * across, sc in final st, ch 1, turn. (9 ch-2 sps, 18 sc)
Row 3: sc in first st, *3 sc in ch-2 sp, sl st in next st, sk st; repeat from *across, sc in final sc of row.
Fasten off, and weave in ends.
Repeat this sequence on the other end of the scarf.
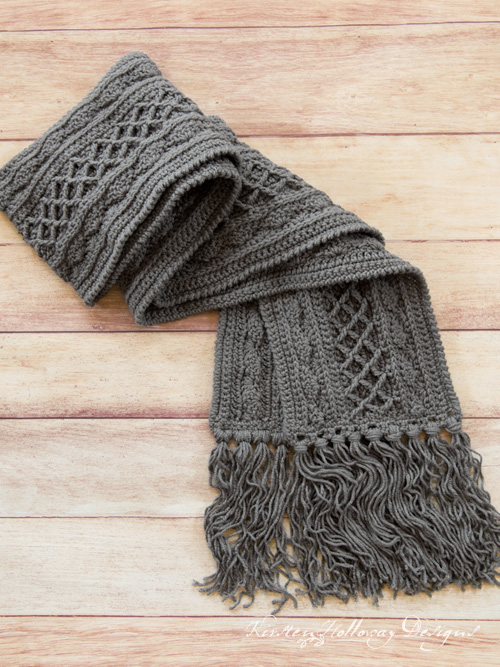
Attaching the fringe to your crochet scarf
Loop 6 24” pieces of fringe through each hole on the ends. If you want shorter fringe, feel free to cut 12″ or 18″ lengths. Repeat this section at the other end of the scarf.
Crochet Crab Stitch Edging (Optional):
Top row: Working along long edge of scarf with right side (RS) facing you, attach yarn to top edge of scarf, crab stitch along the edge.
Fasten off when you get to the end.
Bottom row: Attach yarn to bottom edge of the scarf, crab stitch along that edge.
Fasten off, and weave in ends.
If you liked this scarf pattern, why not have a look at my hat patterns!
Want more gorgeous crochet patterns, and a little encouragement for your day? Sign up for my newsletter here! That way you’ll never miss out on special events, or freebies I’m offering.
JOIN ME ON SOCIAL MEDIA
I would love to see a picture when you’re done, so please feel free to come by my Facebook group and show off your project! Be sure to tag @kirstenhollowaydesigns when you share pictures of your finished scarf on Instagram, and use #snowcountrysuperscarf!
You can also follow me on Facebook, Pinterest, Instagram, and Ravelry for more beautiful crochet patterns.
PATTERN TERMS AND CONDITIONS:
You are welcome to share the link to this pattern, using one image of your choice, on your site, but please do not share the written patterns themselves, this includes my Ravelry downloads or translations of these patterns, or use additional images. You do not have permission to use my images by themselves to create pinnable graphics for Pinterest, however they may be included in a roundup pin if there are 4 or more other patterns. If you sell finished items online, please do not use my pictures for your listings. I’m positive that your work is of high enough quality for you to sell the finished piece. Have confidence in your abilities! <3 Thank you!
This pattern was made to be used by individuals, and small business crocheters alike. Selling your finished pieces in boutiques, at farmer’s markets, craft shows, and other local events is encouraged! The only thing I require is that this pattern not be used commercially to produce hundreds of thousands of copies.
If you enjoyed this pattern or found it useful, why not share a link to this post with your friends?


