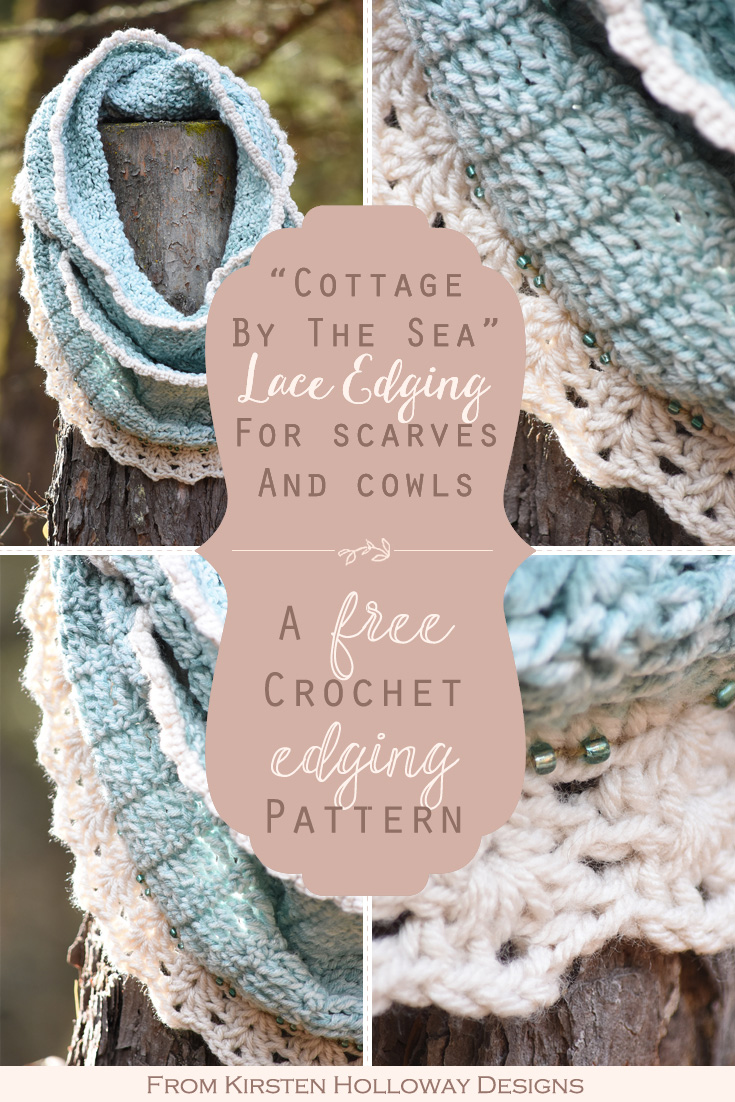
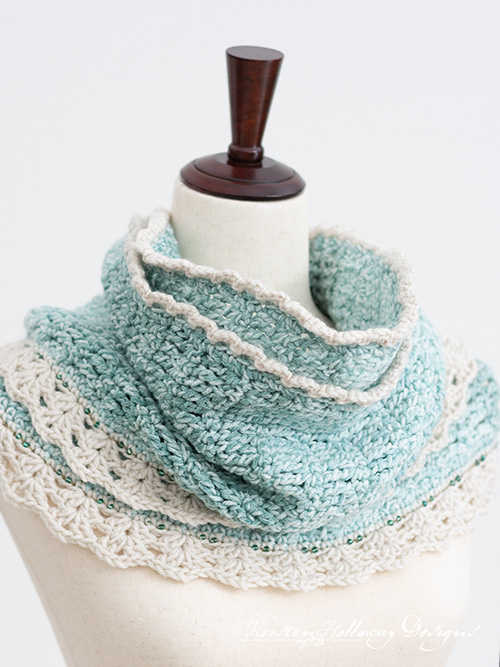
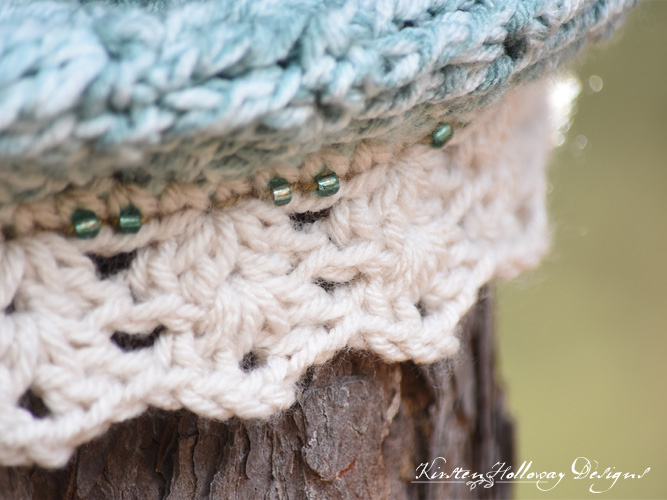
The “Cottage By The Sea” crochet infinity scarf crochet edging add-on brings romantic, feminine charm with the addition of a lacy crochet shell stitch to the the bottom of the scarf, while glass beads add some unexpected sparkle– shells and sea glass: the treasures of any beach trip. Soft teal yarn captures the essence of salty breeze blowing over the waves, and a delicate crochet ruffle trims the top, perfectly finishing this beach-worthy masterpiece.
Click here to add this pattern to your Ravelry queue!
This beautiful and simple lacy shell stitch add-on is the first pattern of the Designer Remix 2018. Please share your finished items and WIPs on Instagram with the hashtag #DesignerRemix2018. There are a total of 12 crochet designers participating in this event with 3 new patterns a week the entire month of November, so get ready for some serious craft inspiration (and a whole lot of free crochet patterns) to come your way! (Keep scrolling down for the pattern)
For the main body of the scarf, head on over to Kristine’s site, Ambassador Crochet and follow her Astoria Infinity Scarf pattern*, then, come back here for the remix (add-on).
Note: For my remix I used Hobby Lobby’s Soft & Sleek yarn in Teal Stripe, but did a bit of yarn hacking to make it fit my vision. You are welcome to follow the hacking instructions below (yes, yarn cutting is involved), or you may use the green color that the original design calls for. Either way I think you’ll be pleased with the results.
Disclaimer: This post contains affiliate links. When you purchase something using these links a small amount of the sales price goes to me. You do not pay any extra for the item you purchase.
Difficulty:
Easy
Materials Needed (click the links to purchase if you don’t have these supplies on hand already) :
5mm (H) hook for add-on
6mm (J) hook for scarf body
4 balls Yarn Bee Soft & Sleek in “Teal Stripe” if you plan to follow the yarn hacking tutorial
*If you do NOT plan to hack your yarn, 25-30 extra yards of the main body color should be plenty.
25-30 yards #5 Artiste Crochet Thread in “Chamois”
125-150 yards I Love This Yarn in “Linen”
Teal colored strung glass beads <–These are the ones I used. If you use a different style of bead make sure that they will easily string onto #5 crochet thread.
Yarn needle
Beading needle
Scissors
Super glue
Stitches Used:
sl st = slip stitch
ch = chain
sc = single crochet
dc = double crochet
tr = treble crochet (for the body of the scarf)
Gauge:
Gauge isn’t particularly important for this add-on. You want to maintain a relaxed even tension so that it doesn’t suck the scarf in along the edges. If you notice your edge is starting to suck in, go up a hook size or two.
Measurements:
Original pattern calls for 60” of length, but if you want a longer infinity scarf, you are likely able to get 72” from 3 balls of the Soft & Sleek, provided you have chosen the balls that have mostly lighter colors in them.
Additional Notes:
- You can use this add-on pattern to trim any infinity scarf or cowl you wish, provided your stitch counts are in multiples of 4.
- Because this pattern uses beads, please do not give this piece to children. It could pose a chocking hazard.
- The original Astoria Scarf calls for a beautiful green yarn, but I used a faded tonal aqua color. If you want to use the same color I did then this project requires some yarn hacking. Yarn hacking is very easy, and you’ll get the hang of it in no time. You will have more ends to weave in, but that’s a minor inconvenience.
Here’s what you’ll do if you want to hack your yarn:
The Soft & Sleek Teal Stripe yarn has stripes with fairly abrupt color changes-light, medium, and dark. We’ll be using the light and medium colors for this project. Note: When you go shopping for this yarn, look for the skeins that have primarily the light colors.
- If your skein starts with a light or medium teal, pull yarn from the skein until you hit a patch of dark teal
- Cut the yarn at the darkest teal color change.
- Wind the darkest teal color up into balls using a yarn winder, and set them aside. We won’t be using them for this project, but you should have enough left over to make a simple beanie if you like.
- Leave the 2 lighter colors wound in the skein.
- Join the end back to your project with an invisible join by pulling your new yarn through the last two loops of the new stitch (continue working over the ends).
Keep repeating these steps throughout the entire scarf process. 3 balls was enough for me to get exactly 72” of length. The 4th ball was used for the trim.
It’s as simple as that!
Cottage By The Sea, a lacy shell stitch add-on (US Terms):

Once you have completed the basic Astoria Scarf,
Switch to 5mm hook,
Top edge:
Worked in multiples of 4 across top edge using main body color,
Round 1: ch 1, *sc in side of sc, 3 sc in side of tr; repeat from * around. Join with sl st to first sc. (final number must be multiple of 4)
Join Linen color, cut Teal Stripe color,
Round 2: *ch 2, sk st, sl st in next; repeat from * around, final sl st counts as join.
Round 3: sl st into first ch-2 sp (ch 1, 3 sc, sl st), sl st into next ch-2 sp; repeat from * around, final sl st counts as join.
Fasten off and weave in ends.
Bottom edge:
Worked in multiples of 4 across bottom edge using main body color,
Round 1: ch 1, *sc in side of sc, 3 sc in side of tr; repeat from * around. Join with sl st to first sc. (final number must be multiple of 4)
Join Linen color, cut Teal Stripe color,
Round 2: ch 1, sc in each st around, join with sl st to first sc.
Rounds 3: ch 3 (counts as first dc) 3 dc in same st as join, sk 3 sts, *4 dc in next st, sk 3 sts; repeat from * around, join with sl st to top of 3rd ch.
Round 4: sl st over to center (between 2nd and 3rd dc) of first shell from previous round, ch 3 (counts as first dc) 3 dc in center of shell, sk to center of next shell, *4 dc in center of shell, skip to center of next shell; repeat from * around, join with sl st to top of 3rd ch.
Fasten off, and weave in ends
String glass beads on #5 thread before beginning this round. You will use half as many beads as you have stitches, so if your count from round 1 was 220, you would string 110 beads on for this round.
Using 6mm hook and relaxed tension,
Round 5: attach thread in round 1, above first shell, sl st around next st, *[pull up bead, sl st around next st] 2 times, [sl st around next st] 2 times; repeat from * around, ending with sl st around last sc.
Fasten off securely. Apply a dab of super glue to the knot to hold it in place. The thread I used was tricky and no matter how hard I tugged it would always start to come untied a few minutes later. Save yourself the headache and trail of glass beads, and glue those ends right now. 😉

*Kristine’s original Astoria infinity scarf references Astoria, New York, while and my add-on which references Astoria, Oregon. I was able to visit Astoria about 6 years ago and enjoy the beauty of the ocean. Yes, I know it’s not the “sea”–but “ocean” didn’t have quite the same ring, so forgive me for the artistic license in naming this. 😉 Most of my experiences with the ocean have been on Oregon beaches in the fall, and I sure wished I had something warm to tuck around my neck on those occasions! You won’t have that excuse when you visit though because you’ll have your gorgeous Astoria scarf to wear, keeping you warm. This scarf and the add-on are quick enough to work up that you can make one to donate to a good cause (Read about the awesome cause Kristine and her daughter set up and donated scarves to last year), and one for yourself!
Want more gorgeous crochet patterns, and a little encouragement for your day? Sign up for my newsletter here! That way you’ll never miss out on special events, or freebies I’m offering.
JOIN ME ON SOCIAL MEDIA
I would love to see a picture when you’re done, so please feel free to come by my Facebook group and show off your finished project! Be sure to tag @kirstenhollowaydesigns when you share pictures of your project on Instagram!
You can also follow me on Facebook, Pinterest, Instagram, and Ravelry for more beautiful crochet patterns.
PATTERN TERMS AND CONDITIONS:
You are welcome to share the link to this pattern, using one image of your choice, on your site, but please do not share the written patterns themselves, this includes my Ravelry downloads or translations of these patterns, or use additional images. You do not have permission to use my images by themselves to create pinnable graphics for Pinterest, however they may be included in a roundup pin if there are 4 or more other patterns. If you sell finished items online, please do not use my pictures for your listings. I’m positive that your work is of high enough quality for you to sell the finished piece. Have confidence in your abilities! <3 Thank you!
This pattern was made to be used by individuals and small business crocheters alike. Selling your finished pieces in boutiques, at farmer’s markets, craft shows, and other local events is encouraged! Please credit/link Kirsten Holloway Designs when selling finished products online. The only thing I require is that this pattern not be used commercially to produce hundreds of thousands of copies. If you enjoyed this pattern or found it useful, why not share a link to this post with your friends?


