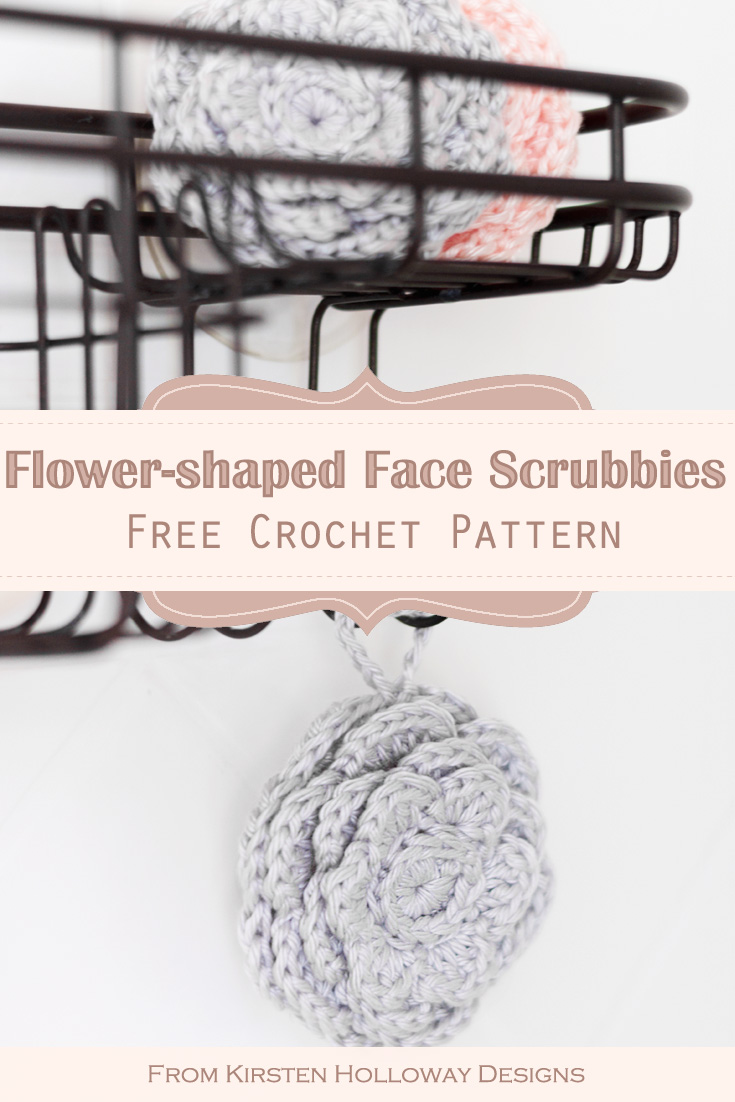
The crochet flower face scrubbies are so cute and quick to make. They work as either facial cleansing pads or make-up removers. Because of their pretty shape they would be a beautiful pattern to crochet for mom for a Mother’s Day gift, or some other special occasion. Find the free crochet pattern instructions below, or purchase a print-optimized, ad-free PDF by clicking here.
Click here to add this to your Ravelry queue!
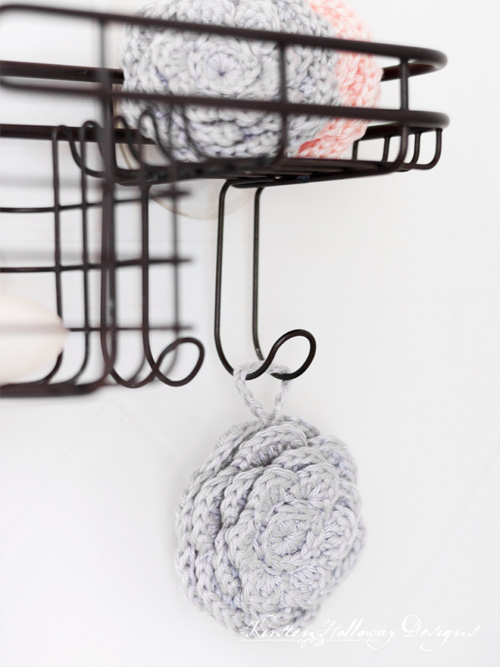
I love pretty things that are as beautiful as they are functional, so I decided to try my hand at creating a cute crochet face scrubbie that would be gentle on sensitive skin. It should also dry quickly since you can simple push the scrubbie open between the petals to let air flow through between the layers!
Tencel is a super soft, silky smooth yarn made from wood pulp harvested from renewable sources. It is softer than traditional washcloth cotton and dries quickly, meaning it is great to use for your skincare routine. I used Yarn Bee Fresh Haven from Hobby Lobby, but you can also try KnitPicks Shine Sport, for a nearly identical look and feel.
Disclaimer: This post contains affiliate links. When you purchase something using these links a small amount of the sales price goes to me. You do not pay any extra for the item you purchase.
Materials Needed:
3.25mm hook
25-35 yards of Yarn Bee Fresh Haven in Pink, or Grey. If this is not available in your area try Knit Picks Shine Sport in Blush, or Robot, or a #3 light weight cotton yarn
Yarn needle
Scissors
Stitches Used:
sl st = slip stitch
ch = chain
sc = single crochet
BPsc = back post single crochet
hdc = half double crochet
dc = double crochet
Additional Terms:
st/sts = stitch/stitches
sk = skip
Gauge:
Gauge isn’t especially important
Measurements:
3” across
Additional Notes:
I used tensel yarn for this project because of how silky smooth it feels against my skin. The way this pattern is designed allows for easy drying, just put your fingers between the rounds of petals and “open” the scrubby up. That should allow for good air flow. If you find your scrubby is not drying fast enough, pop it in a lingerie bag and put it in your dryer.
-Thoroughly rinse scrubbies out after each use. If the scrubby starts to smell bad even after washing, throw it out. Mold is dangerous!
-I used somewhat tight tension so the scrubby would not fall apart as readily
Flower Blossoms Face Scrubby Pattern (US Terms):
Click here to purchase an ad-free, print-optimized PDF of this pattern on LoveCrafts
We’ll make the back of the scrubby first. You can use the same color as the front this way or use a contrasting color. You could even use a different material for this side if you wished to–just make sure they are the same weight.
Scrubby (back):
Round 1: ch 1, [dc, sc] 4 times in magic circle, join with sl st to first dc. (8)
Round 2: ch 1, (sc, dc) in each st around, join with sl st to first sc. (16)
Round 3: ch 1, (dc, sc), in first st, dc in next st, (sc, dc) in next st, sc in next st * dc, sc), in next st, dc in next st, (sc, dc) in next st, sc in next st; repeat from * around, join with sl st to first dc. (24)
Round 4: ch 1, (sc, dc) in first st, sc in next st, dc in next st *(sc, dc) in next st, sc in next st, dc in next st; repeat from * around, join with sl st to first sc. (32)
My scrubbie back measured 2″ across when I was done.
Fasten off, weave in ends, then start the front of the scrubby.
Scrubby (front):
Round 1: 6 sc in magic ring, join with sl st to first sc, but do not cinch closed. (6)
Round 2: ch 1, working over the stitches in round 1, 12 hdc in center of circle join with sl st to first hdc. (12)
Round 3: ch 1, BPsc in each st around, join with sl st to first sc. (12)
You should have a button shape now.
Round 4: *ch 2, sk st, sl st in next; repeat from * around, final sl st counts as join. (6 ch-2 sps)
Round 5: ch 1, (hdc, 2 dc, hdc, ch 1, sl st) in ch-2 sp *ch 1, (hdc, 2 dc, hdc, ch 1, sl st) in next ch-2 sp; repeat from * around. (6 petals)
Turn piece over and work this next round along the back,
Round 6: ch 1, sl st into center of first petal, *ch 3, sl st into center of next petal; repeat from * around, place final sl st in first sl st to join. (6 ch-3 sps)
Turn piece over and work on the front,
Round 7: ch 1, (hdc, 3 dc, hdc, ch 1, sl st) in ch-3 sp, ch 1, *(hdc, 3 dc, hdc, ch 1, sl st), in next ch-3 sp, ch 1; repeat from * around. (6 petals)
Turn piece over and work this next round along the back,
Round 8: ch 1, sl st into center of first petal, *ch 4, sl st into center of next petal; repeat from * around, place final sl st in first sl st to join. (6 ch-4 sps)
Turn piece over and work on the front,
Round 9: ch 1, (hdc, 4 dc, hdc, ch 1, sl st) in ch-4 sp, *ch 1, (hdc, 4 dc, hdc, ch 1, sl st) in ch-4 sp; repeat from * around. (6 petals)
Turn piece over and work this next round along the back,
Round 10: ch 1, sl st into center of first petal, *ch 5, sl st into center of next petal; repeat from * around, place final sl st in first sl st to join. (6 ch-5 sps)
Now we will join the front and back pieces together.

You may notice the stitch count for the back piece is not evenly divisible by 6 (the number of petals we have). Here’s how to join the two sides evenly so you don’t have left-over stitches at the end:
Round 11: crocheting the two sides together, [6 sc in ch-5 sp, 5 sc in the next 2 ch-5 sps] 2 times, join with sl st to first sc.
Round 12: *sk st, 4 hdc in next st, sk st, sl st in next st; repeat from * around, ch 10, sl st back into final sl st of last petal to create a loop. This loop is optional, but it is handy for hanging the scrubby up to dry after you rinse it and use your fingers to push it open between the petals.
Fasten off and weave in ends.
I would love to see a picture when you’re done, so please feel free to come by my Facebook group and show off your project! Be sure to tag @kirstenhollowaydesigns when you share pictures of your finished scrubbies on Instagram.
You can also follow me on Facebook, Pinterest, Instagram, and Ravelry for more crochet patterns.
Pattern Terms and Conditions:
You are welcome to share the link to this pattern, using one image of your choice, on your site, but please do not share the written patterns themselves, or use additional images. You do not have permission to use my images by themselves to create pinnable graphics for Pinterest, however they may be included in a roundup pin if there are 4 or more other patterns.
This pattern was made to be used by individuals, and small business crocheters alike. Selling your finished pieces in boutiques, at farmer’s markets, craft shows, and other local events is encouraged! Please credit/link Kirsten Holloway Designs when selling finished products online. The only thing I require is that this pattern not be used commercially to produce hundreds of thousands of copies. Also, if you sell finished items online, please do not use my pictures for your listings. I’m positive that your work is of high enough quality for you to sell the finished piece. Have confidence in your abilities! <3 Thank you!


I am on the front and not sure how to do round 3. Not even really sure what back posts we use
I love this scrubbie.
Thank you
Hi Jeanette,
You will be working BPsc (Back Post single crochet, as the stitch glossary should say) around each of the stitches in round 2. 🙂 I hope that helps!
What do you mean by the center of the petal for the slip stitch. Like top center or directly through the center?
Top center. Work through the part of the stitch you would work normal stitches into. 😊
Thank you! I’m new to crocheting but love your designs 🙂
You’re welcome, Sandra!
I still don’t understand – normally I would crochet into the top of the double crochet (center of the petal) – but the picture looks like the petals are behind the other petals . When it says to turn the work over, it sounds like I’ll be going in the other direction, but when I look at the picture it doesn’t look that way. can I see a picture of the back?
Hi Sharon, I don’t have a picture of the back of the front half, but I’ll try to explain better: you’ll be creating a layered flower so you’ll turn the flower over so you’re working at the back, going the same direction as you have been working. The chains created at the back provide the spaces for the next round’s petals to be worked into. They will be anchored with a slip stitch at the center back of each petal. You should be able to see the petals well after you flip it over. After you finish with that round you’ll turn the flower back over so the front side is showing and work petals into the chain spaces. I hope this helps!
I’m sure I’m overthinking this. I can see the layered look and I understand in general the effect we’re trying to make here. I just don’t know exactly where to put the slip stitch. Maybe it doesn’t matter a whole lot, as long as it’s near the top center of each petal.
I tend to work my slip stitch near the bottom center of the petal. It’s really not super technical. As long as you look at the back of the petal and pop your slip stitch dead center, it should end up looking quite a bit like the flower in the picture. 🙂
How do I make a magic circle ring?
It’s essentially making a slip-knot part way and working inside it before you snug it down. This video may be helpful: https://www.youtube.com/watch?v=sLUaywX0-WE
Beautiful
Thanks for you
Glad you like the pattern! You’re welcome. 🙂
When u join the back to the front it is very confusing only because there is no photo .
When u say to sc in ch 5 spot I am wondering which way I start from back or front ? I don’t think I did it right at all .
You will be stitching the front and back together, working at the front of the flower into those ch-5 sps. 🙂