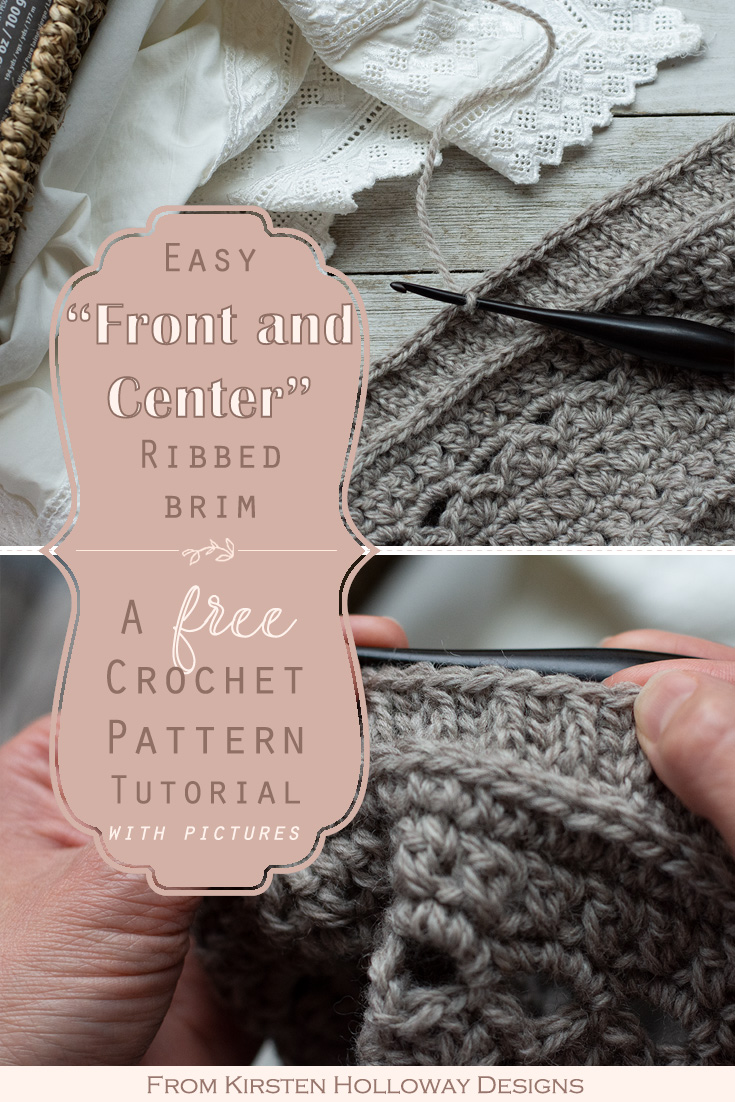
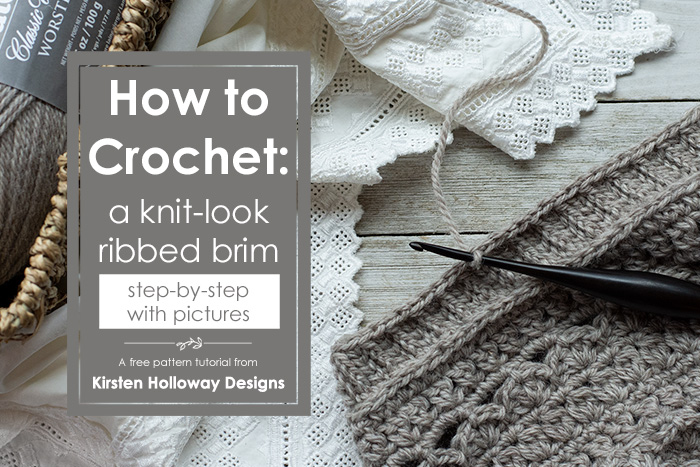
This easy knit-look vertical ribbed brim works for all top-down crochet hat patterns and can be made as long or as short as you’d like. It creates a thick warm ribbed brim for any crochet hat or beanie.
I call this brim the “Front and Center” brim because that title tells you exactly what you’ll be doing to crochet it! I’ve written out the instructions below the picture tutorial if you prefer to follow along that way.
Disclaimer: This post contains affiliate links. When you purchase something using these links a small percentage of the sales price goes to me. However, you do not pay any extra for the item you purchase.
For this tutorial I’m using Patons Classic Worsted Wool in “Natural Mix” and a 4mm Furls Streamline hook.
Add a crochet ribbed brim to any hat
This stitch pattern is an easy addition to any top-down hat, and is a quick way to add a vertical ribbed brim to hats crocheted in the round.
You just need to know a little stitch anatomy first:
Front:
A front post stitch is usually worked around the post or body of the stitch. They are typically used with dc or hdc stitches, and can look a bit bulky with sc. The method I’m showing you in the following tutorial fixes that and gives a nice even-looking stitch, as well as a warm, thick brim.
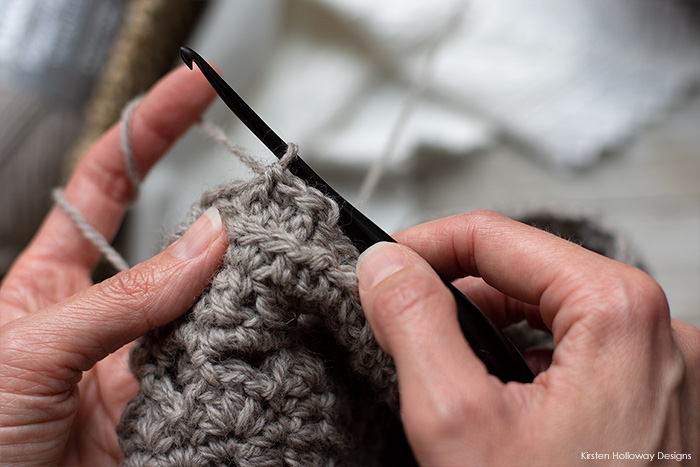
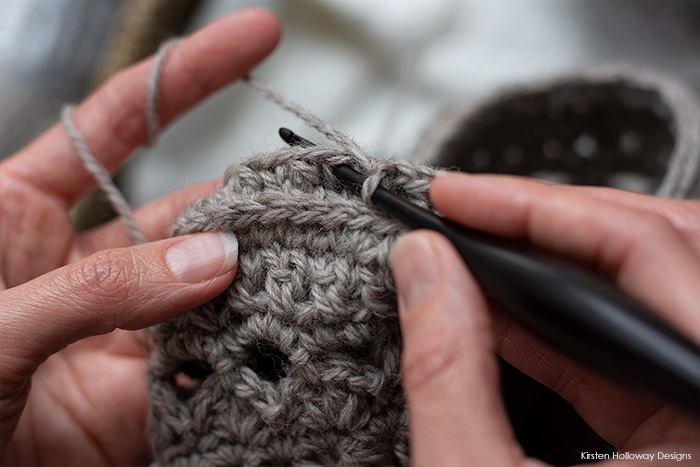
Step 1: Instead of trying to work around the entire stitch, you’ll put your hook sideways through the front half of the sc stitch instead, like this:
Step 2: Then, yarn over, pull up a loop, and complete the stitch as normal:
Center:
Center single crochet is also known as the crochet “knit stitch”, or “waistcoat stitch”. It gives the look of “knit” fabric when crocheted in the round.
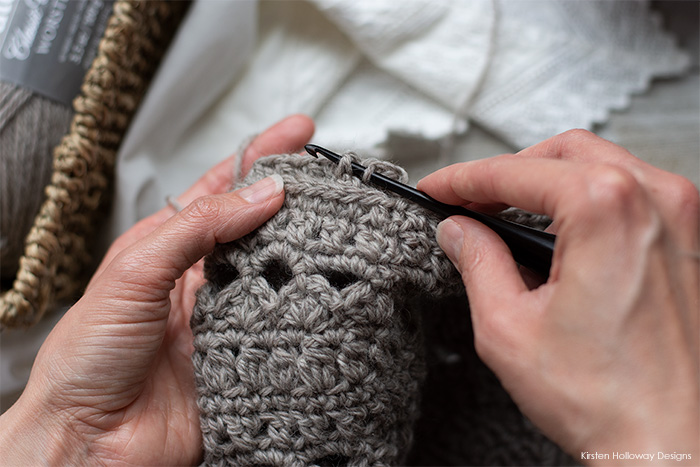
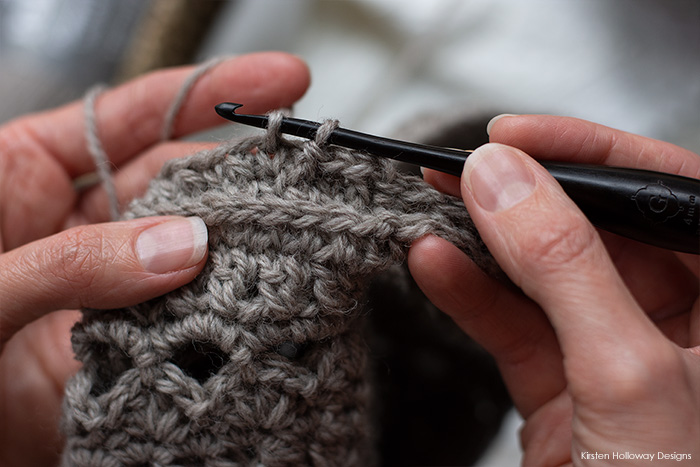
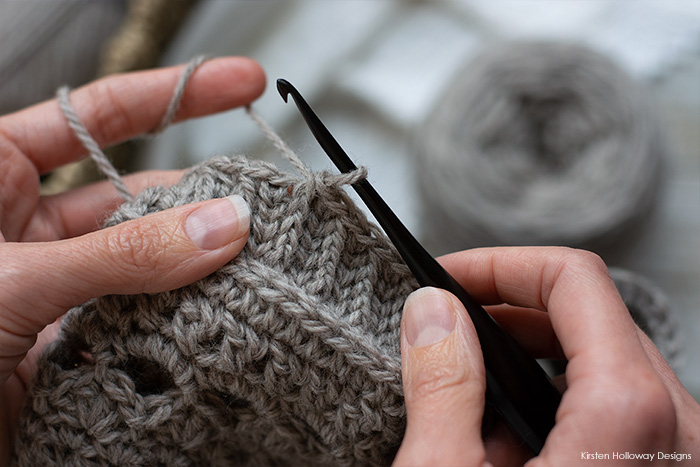
Step 3: The hook is inserted into the center of the stitch (through the post), instead of at the top as normal. You will want to use relaxed tension so your hook glides through the center easily:
Step 4: After you go through the center of the stitch you’ll pull up a loop like normal. You will want to use relaxed tension so your hook glides back through the center easily on each subsequent round.:
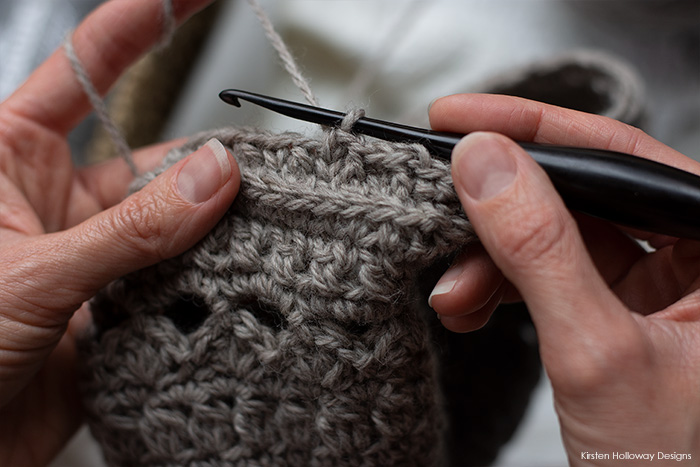
Here’s what the center single crochet stitch looks like once it’s been completed:
Here is a video that demonstrates the stitches in action:
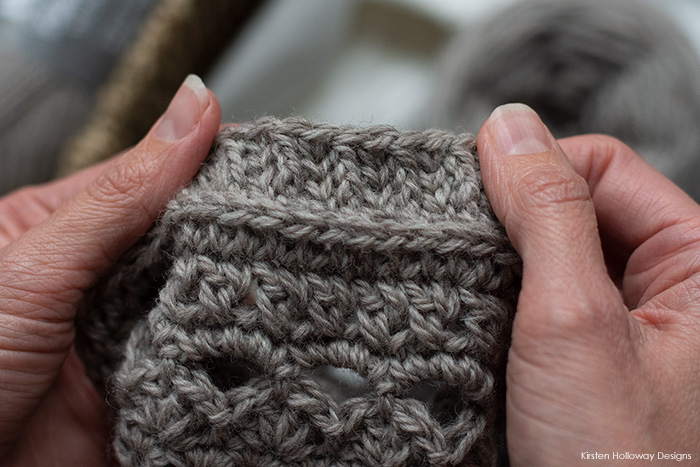
After a few rounds your brim should start to look like this. Notice how the front post stitches make upside down Vs and the center single crochet stitches make right-side up Vs:
How to crochet the “Front and Center” brim pattern (US terms):
- You can use any hook size, or any weight of yarn, just remember to use nice relaxed tension when crocheting this pattern.
- To add more definition between the front post stitches and center single crochet stitches, try doing the first round of the brim using traditional front and back post stitches, then follow the instructions below.
Round 1: ch 1, sc in each st around, join with sl st to first sc.
Round 2: ch 1, FPsc as normal around first st, center single crochet in the next, *FPsc around next st, center single crochet in next st; repeat from * around, join with sl st to first FPsc.
Round 3: ch 1, FPsc through front 2 loops of first st, center single crochet in the next, *FPsc through front 2 loops of next st, center single crochet in next st; repeat from * around, join with sl st to first FPsc.
Keep repeating round 3 of the brim until it’s a long as you’d like it to be. The brim will curl up a little bit, but can easily be blocked to flatten it out if this is a problem.
Fasten off, and weave in ends.
You can use this to trim sleeve cuffs, or neck openings as well (yes, even on cowls!). This pattern is so versatile, I’m sure you will find many more uses for this stitch pattern!
If you want to try this brim out on some hats here are several that I’ve used these techniques on:
- An easy winter hat crocheted with chunky yarn (with flower embellishment)
- This super easy men and boys pattern hat comes in several sizes
- This baby elf hat uses the center single crochet stitch all the way through it!
I hope this has been useful! If it has, please feel free to share a link to this tutorial with your friends.
Want more gorgeous crochet patterns, and a little encouragement for your day? Sign up for my newsletter here! That way you’ll never miss out on special events, or freebies I’m offering.
JOIN ME ON SOCIAL MEDIA
I would love to see a picture when you’re done, so please feel free to come by my Facebook group and show off your project! Be sure to tag @kirstenhollowaydesigns when you share pictures of your finished fingerless gloves on Instagram, and use #secretgardenfingerlessgloves!
You can also follow me on Facebook, Pinterest, Instagram, and Ravelry for more beautiful crochet patterns.
PATTERN TERMS AND CONDITIONS:
You are welcome to share the link to this pattern, using one image of your choice, on your site, but please do not share the written patterns themselves, this includes my Ravelry downloads or translations of these patterns, or use additional images. You do not have permission to use my images by themselves to create pinnable graphics for Pinterest, however they may be included in a roundup pin if there are 4 or more other patterns. If you sell finished items online, please do not use my pictures for your listings. I’m positive that your work is of high enough quality for you to sell the finished piece. Have confidence in your abilities! <3 Thank you!
This pattern was made to be used by individuals, and small business crocheters alike. Selling your finished pieces in boutiques, at farmer’s markets, craft shows, and other local events is encouraged! Please credit/link Kirsten Holloway Designs when selling finished products online. The only thing I require is that this pattern not be used commercially to produce hundreds of thousands of copies.


Leave a Reply