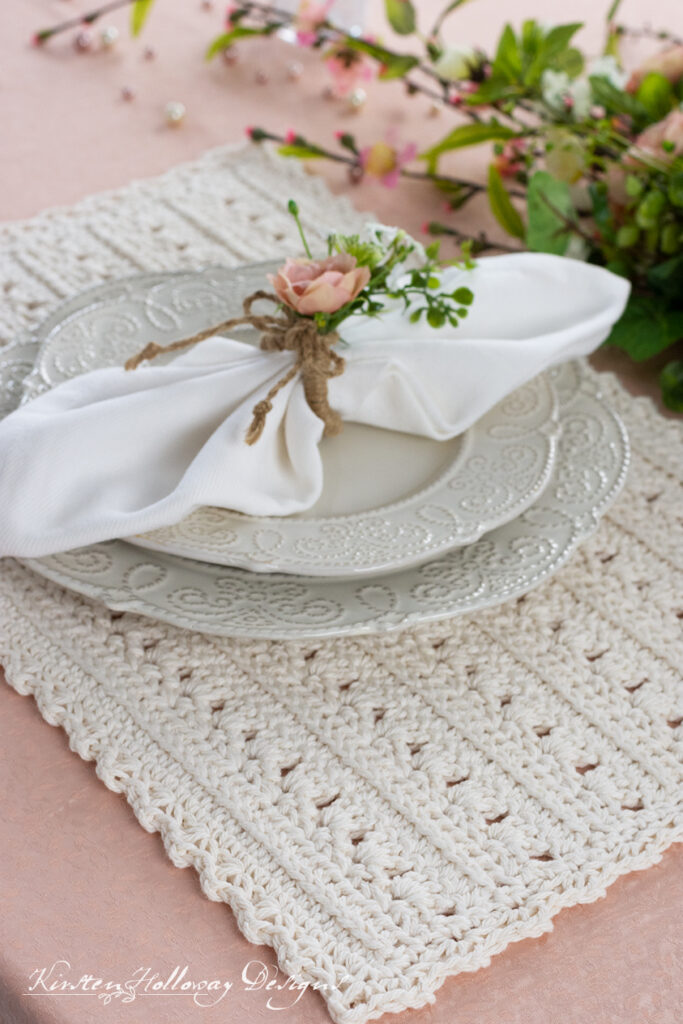
Crochet a pretty rectangular placemat for your dinner table, Mother’s Day brunch, or wedding reception! This placemat pattern uses easy stitches for a elegant lacy design that fits in at even the most formal dinners! Find the free crochet pattern instructions below, or purchase a print-optimized, ad-free PDF by clicking here.
Click here to add this to your Ravelry queue!
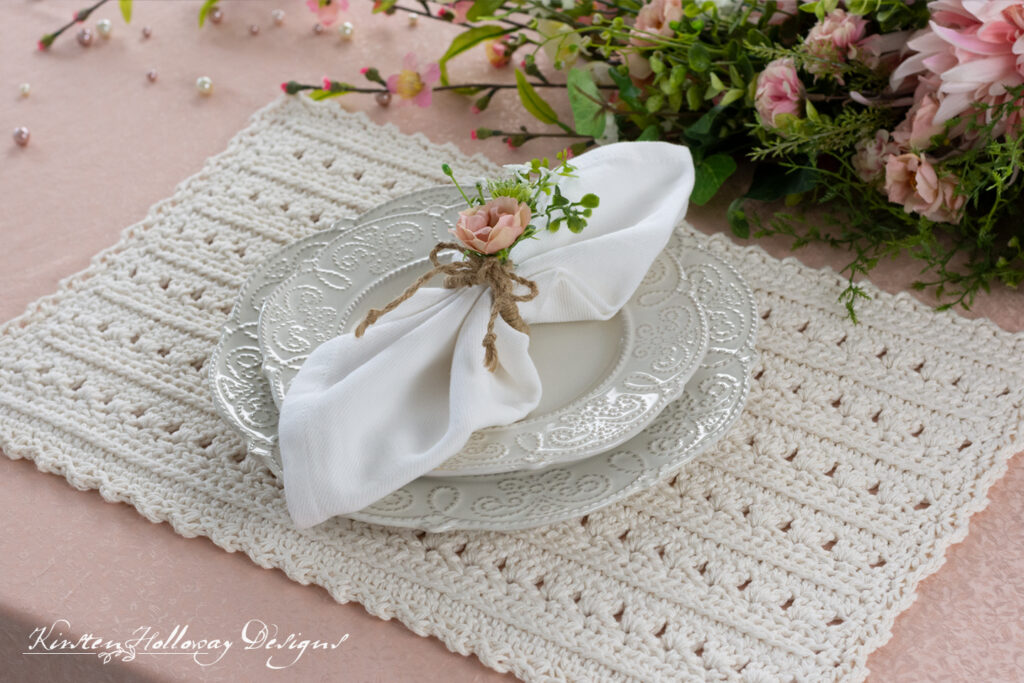
Sometimes you need a crochet project that is quick and easy and that you can finish in an afternoon. This placemat pattern fits the bill nicely on all 3 counts. I used Lily Sugar ‘n Cream #4 worsted weight cotton yarn for this pattern. So not only does this placemat pattern come together quickly it’s also easy to wash and reblock when it gets dirty.
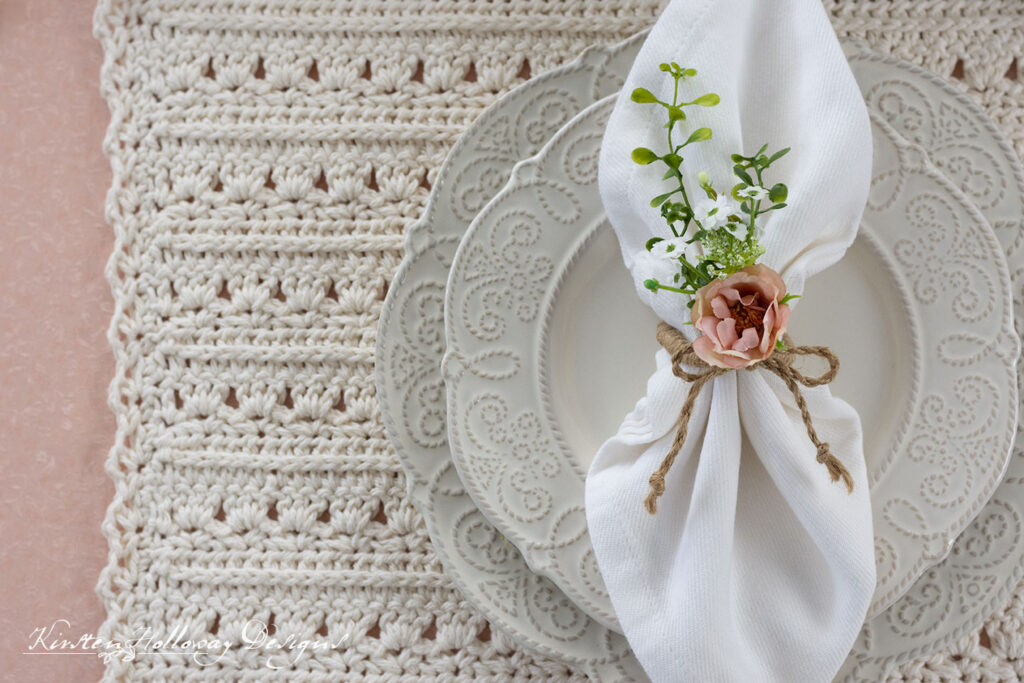
Bonus: Do you want to try your hand at your own DIY napkin rings? I put this one together specifically for these pictures. I’ll share some tips at the bottom of this post on you you can make your own.
Disclaimer: This post contains affiliate links. When you purchase something using these links a small percentage of the sales price goes to me. However, you do not pay any extra for the item you purchase.
Difficulty:
Easy
Materials Needed:
4.5mm hook, or hook needed to obtain gauge
150-200 yds Lily Sugar ‘n Cream in Ecru or color of your choice
Yarn needle
Scissors
Blocking board
Blocking pins
Stitch Markers (optional)
Stitches used:
ch = chain
sl st = slip stitch
sc = single crochet
hdc = half double crochet
dc = double crochet
st/sts = stitch/stitches
sp/sps = space/spaces
prev = previous
Additional terms:
Stitching in the “3rd loop” of hdc. After turning, work all stitches for that row in the 3rd loop of the hdc from previous row (it will be in the front). Instructions: Look at the top of the stitch, and locate the sideways “V”, bend the stitch to look at the back, and you should see another “V”. You’ll be working into the back loop of that “V”, this is called the 3rd loop.
Gauge:
14 hdc in 4″, each row 3-6 repeat adds approximately 1 3/4” of height
Measurements:
12″ tall, by 12″, 14″, 16″, or 18″ wide. Pictured placemat is 18″ wide.
Additional Notes:
-Ch 1/ch 2 does not count as first stitch of row in this particular version of the pattern.
-You may make this placemat taller than 12″ if you prefer. Just keep repeating rows 3-6. Keep in mind, you will need to adjust your side stitch count on the edging rounds.
-Adjust this placemat to fit your needs: The starting chain should be a multiple of 3 + 3.
-If you love the dishes I’m using, you can grab your own set over here
Primrose & Proper Crochet Placemat Pattern (US Terms):
Ch 48 (12” wide placemat), 54 (14” wide placemat), 60 (16” wide placemat), 66 (18” wide placemat),
Row 1: hdc in 2nd ch from hook (skipped chain does not count as a stitch) hdc in each st across, ch 1, turn. (47 [53, 59, 65)
Row 2: hdc in first st, working in 3rd loop of hdc, hdc in next 45 (51, 57, 63) sts across, hdc in final st of row, ch 1, turn. (47 [53, 59, 65)
Row 3: sc in first st, sk st, (sc, ch 2, sc) in next st, [sk 2 sts, (sc, ch 2, sc) in next st] 14 (16, 18, 20) times, sk st, sc in final st of row, ch 2, (does not count as a st) turn. (15 [17, 19, 21]) ch-2 sps, 30 [36, 40, 44] sc)
Row 4: dc in first st, [3 dc in ch-2 sp] 15 (17, 19, 21] times, dc in final st of row, ch 1, turn. (47 [53, 59, 65)
Row 5: hdc in each st across, (note: make sure not to work a st in the top of the ch-2 turning ch from prev row) ch 1, turn. (47 [53, 59, 65)
Row 6: hdc in first st, working in 3rd loop of hdc, hdc in next 45 (51, 57, 63) sts across, hdc in final st of row, ch 1, turn. (47 [53, 59, 65)
Repeat rows 3-6 5 more times for a 12” tall placemat, then move to the edging:
Find more crochet patterns that use this stitch pattern over here
Placemat Edging
Round 1: sc in each st across, ch 1 at corner and continue working down side evenly spacing 36 sc, ch 1, sc in each st across, ch 1, continue working up other side evenly spacing 36 sc, ch 1, join with sl st to first sc.
Round 2: ch 1, sk 2 sts, *(sc, ch 2, sc), sk 2 sts* repeat from * to * across top edge, (sc, ch 2, sc) in ch-1 sp at corner, sk st **(sc, ch 2, sc), sk 2 sts** repeat from ** to ** along side, sk st, (sc, ch 2, sc) in ch-1 sp at corner, sk 2 sts, repeat from * to * across bottom, (sc, ch 2, sc) in ch-1 sp at corner, repeat from ** to ** along side, sk st, join with sl st to first sc of round. After finishing row 6 repeat, *repeat row 3 to end of row, instead of working a single sc in the final stitch of the row work (sc, ch 2, sc) instead, and continue around corner working *(sc, ch-2, sc), sk 2 sts* evenly along raw edge (on my washcloth I had 10 bumps along each raw edge); repeat this sequence for the bottom edge and other raw side, (sc, ch 2) in same st as your edging round began in, join with sl st to first sc.
Fasten off, and weave in ends.
Block for best results.
DIY Floral Napkin Ring (Bonus)
This is a fairly basic walk-through for creating simple DIY napkin rings for a wedding reception, or Mother’s day brunch. Hopefully it makes enough sense, especially if you have done any kind of work with flowers before.
If you want to make lots of these rings the materials list below will give you enough greenery to make at least 12-16 of them. However, you will need more than 1 stem of the Rose Pick though since that comes with only 3 flowers.
Materials Needed:
His & Hers Rose Pick in “Antique Pink”
Mini Leaves Bush
Queen Anne’s Lace Stem
White Baby’s Breath Spray
Ball of Jute Cord
26 gauge Green floral wire
Green floral tape
Glue sticks and glue-gun
Scissors
Assembling your napkin ring
For each napkin ring you will cut 1 sprig from the stem or bush. These accents should be very small.
Cut an 8″ wire for each of your floral elements
Attach the stems of your floral elements to the wire with a dot of hot glue.
Wrap each floral stem and wire with floral tape. The floral tape should go up the stem a little ways and go down over the wire by an inch or 2.
Once each stem is wrapped position your flowers with the Mini Leaves Bush sprig at the back, your Queen Anne’s Lace stem and White New Love Gysophila side-by-side in front of the leaves, and your Rose Pick in “Antique Pink at the front, center.
Twist the wrapped stems together so they make one large, long stem.
Cover the stem by wrapping it with more floral tape. Continue wrapping the stems all the way down to the bottom of the wires.
Take your glue-gun and put a dot of glue at the back of the stem, near the top. Attach your jute twine to the stem and start wrapping the twine very tightly around the whole length of the stem so that none of that green floral tape shows.
Put a small dot of glue at the very end of the stem wires to finish this section off.
You should have a tiny flower bouquet with a very long jute-wrapped tail.
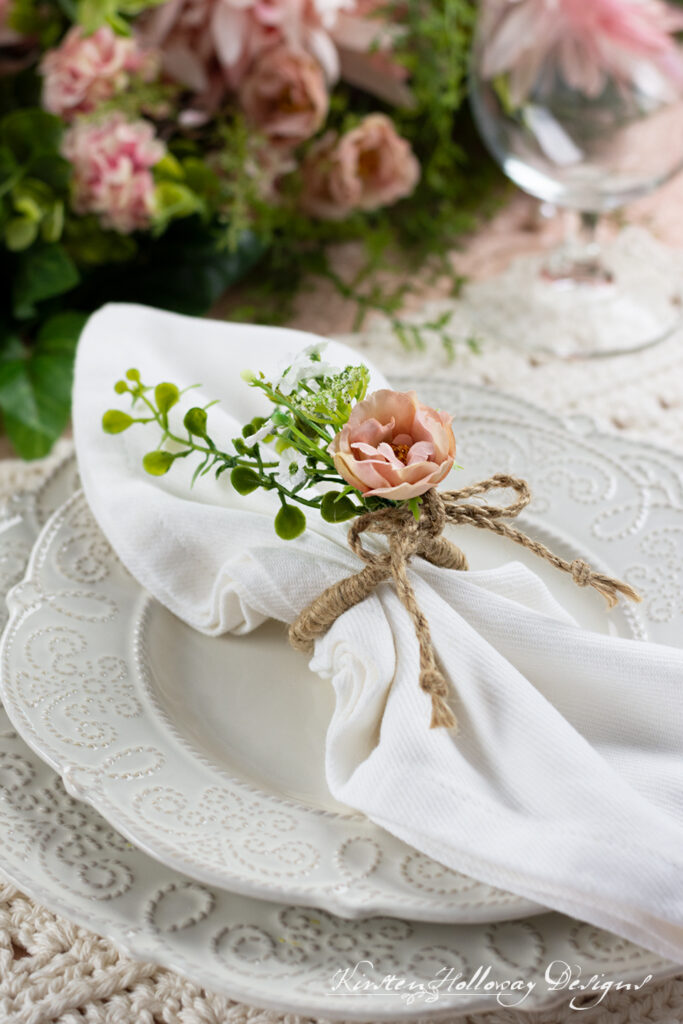
Fold your cloth napkin the way you want it to look
Position the flower at the front, center of the napkin, then take the long just-wrapped tail and wrap it around the napkin to hold it in place. You should have enough length to create a little U-shaped hook at the very end of the tail to attach it to the beginning of the stem.
Take 2 15″ strands of jute cord, knot one end, and then twist the strands together. Knot the other end of the strands together to hold the “twist”.
Wrap the cord around the flowers and further secure the ring in place. Tie it in a little bow.
.sdg.
Want more gorgeous crochet patterns, and a little encouragement for your day? Sign up for my newsletter here! That way you’ll never miss out on special events, or freebies I’m offering.
JOIN ME ON SOCIAL MEDIA
I would love to see a picture when you’re done, so please feel free to come by my Facebook group and show off your finished project! Be sure to tag @kirstenhollowaydesigns when you share pictures of your project on Instagram!
You can also follow me on Facebook, Pinterest, Instagram, and Ravelry for more beautiful crochet patterns.
PATTERN TERMS AND CONDITIONS:
You are welcome to share the link to this pattern, using one image of your choice, on your site, but please do not share the written patterns themselves, this includes my Ravelry downloads or translations of these patterns, or use additional images. You do not have permission to use my images by themselves to create pinnable graphics for Pinterest, however they may be included in a roundup pin if there are 4 or more other patterns. If you sell finished items online, please do not use my pictures for your listings. I’m positive that your work is of high enough quality for you to sell the finished piece. Have confidence in your abilities! <3 Thank you!
This pattern was made to be used by individuals and small business crocheters alike. Selling your finished pieces in boutiques, at farmer’s markets, craft shows, and other local events is encouraged! Please credit/link Kirsten Holloway Designs when selling finished products online. The only thing I require is that this pattern not be used commercially to produce hundreds of thousands of copies. If you enjoyed this pattern or found it useful, why not share a link to this post with your friends?


Leave a Reply