Welcome to part 2 of the Secret Garden Tote crochet-a-long! Today we’ll be finishing the top of the bag, adding straps, and putting an edging on! It may sound like a lot, but I promise it’s really quite simple. Let’s start crocheting shall we?
If you DO NOT want a ribbon around the top of your tote, you can skip rounds 27-30, and go straight to round 31. This will shorten your tote by about 1″
Secret Garden Market Bag Pattern Tutorial – Part 2 (US Terms):
Round 27: ch 1, hdc in each st around, join with sl st to first hdc. (84)
Round 28: ch 1, working in 3rd loop of hdc, dc in each st around, join with sl st to first dc. (84)
Round 29: ch 1, hdc in each st around, join with sl st to first hdc. (84)
Round 30: ch 1, working in 3rd loop of hdc, sc in each st around, join with sl st to first sc. (84)
Note: Your join should be right about in the middle of the side of the tote. When you thread your ribbon through, you’ll tie the bow over this seam to cover it.
Cut yarn, fasten off, and weave in ends
Count forward 21 stitches from join, and attach yarn (you should be at one end of the tote).
Round 31: ch 1, sc in next 14 sts, ch 30 for a short handle/strap, 60 for a medium handle/strap, or 120 for size small, cross-body straps (this number can actually be any length you want as stitch counts after this row are unimportant), sk 14 sts, sc in next 28 sts, ch 30 (60, or 120), sk 14 sts, sc in next 14 sts, join with sl st to first sc.
Rounds 32-36: ch 1, sc in each st around, join with sl st to first sc.
Note: If you want thicker straps, feel free to do another round
Round 37: ch 1, rsc (crab stitch) in each st around, join with sl st to first rsc (crab stitch)
Fasten off, and weave in ends.
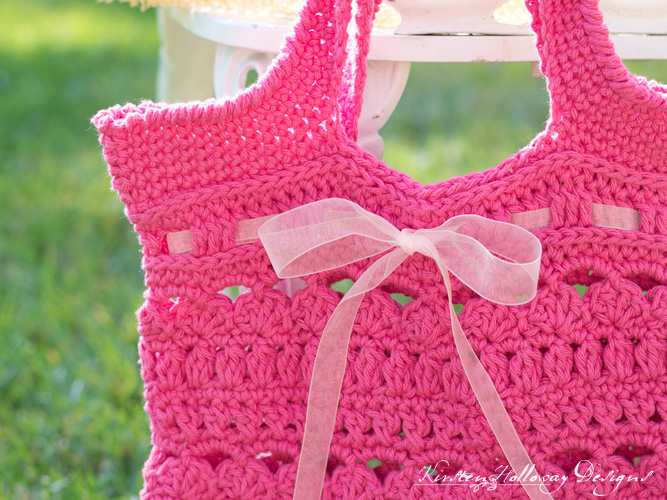
Thread ribbon through round 28. Tie a bow, cut ends of bow at a 45 degree angle, coat ends with fray check or clear nail polish.
And that’s it! You’re done!
I’d love to see your finished totes, so feel free to share them in my Facebook group, or in the Ravelry project listing.
Keep scrolling down for the picture explanations…
Market Bag Picture Tutorial instructions, Part 2:
Round 28, working in the “3rd loop” of the hdc:
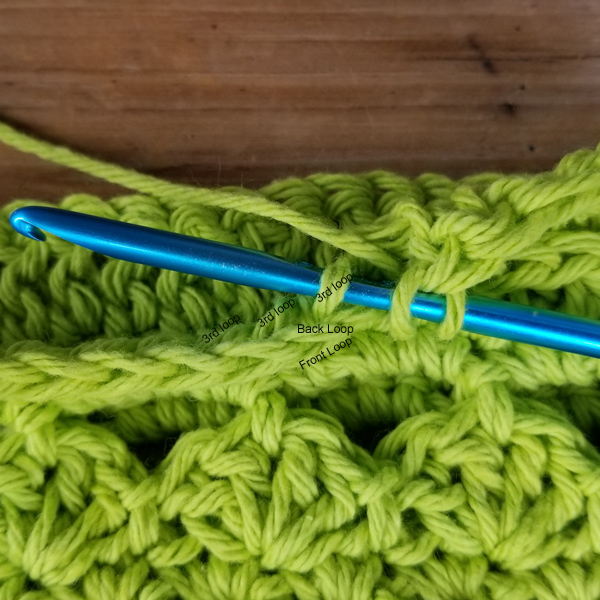
The top of this next picture shows what round 28 should look like after you get several dc’s in the “3rd loop”.
See the ridge that it forms? It also shows rounds 27-30 completed.
The bottom of this picture shows the strap on round 31, and sc detail from round 32.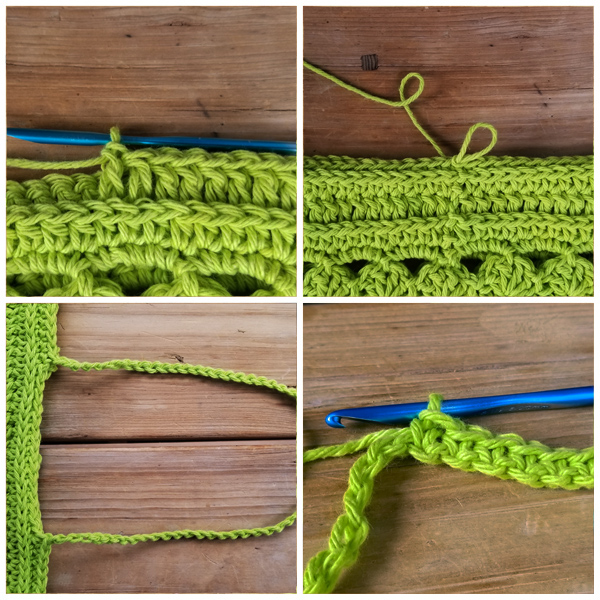
This is what the crab stitch looks like up close. It is a single crochet worked backward, and makes this ribbed edge.

Go back to the Market Bag CAL Part 1:
If you love practical crochet tips, and encouraging words related to this creative adventure, I invite you to sign up for my newsletter. It’s like a comforting yarny hug for your heart each week!


