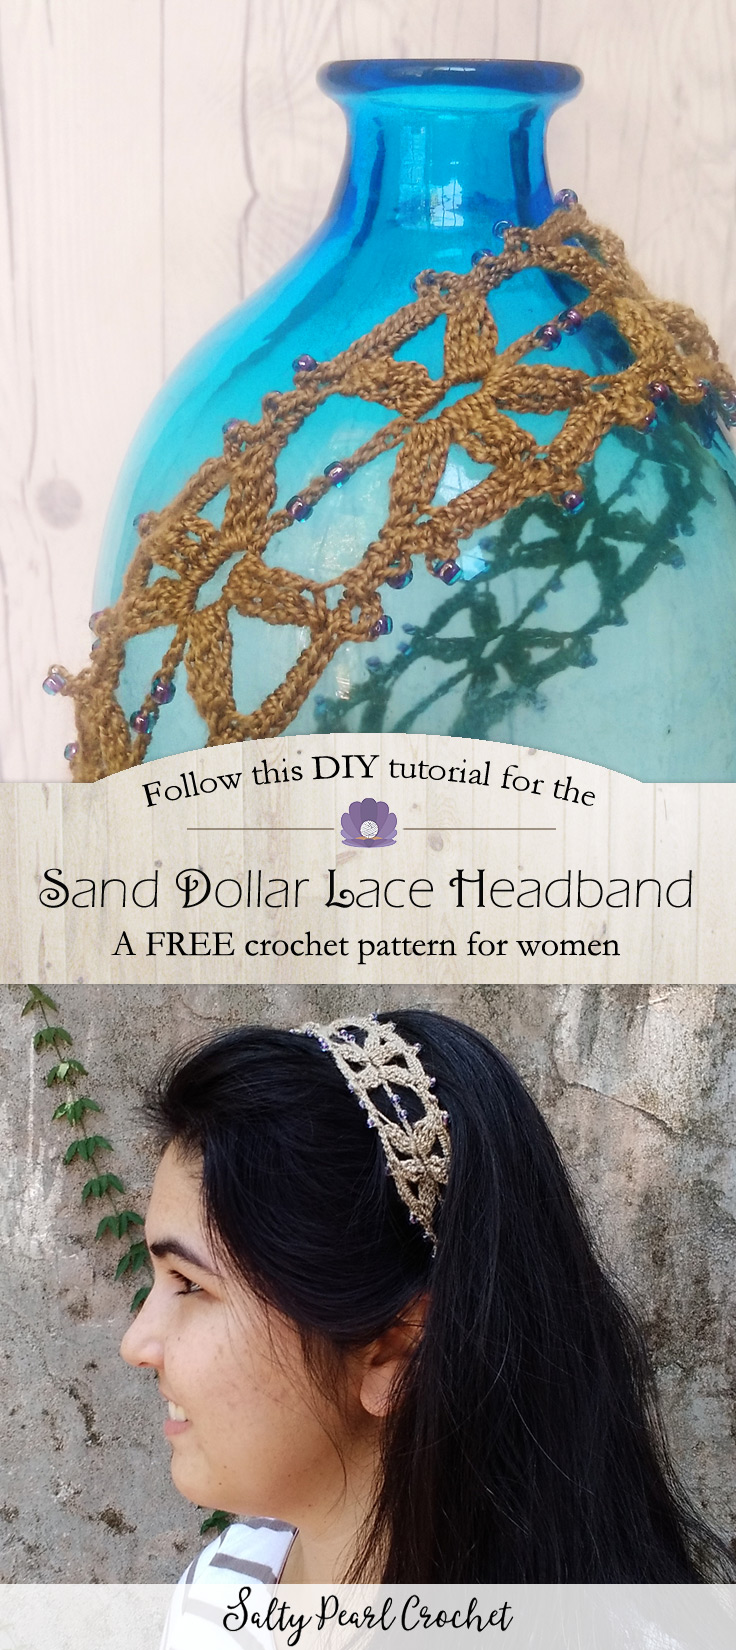
Crochet a lacy summer headband inspired by the ocean. The delicate details in this free crochet pattern make it a beautiful addition to your summer accessory collection. This ladies headband pattern includes a picture tutorial as well.
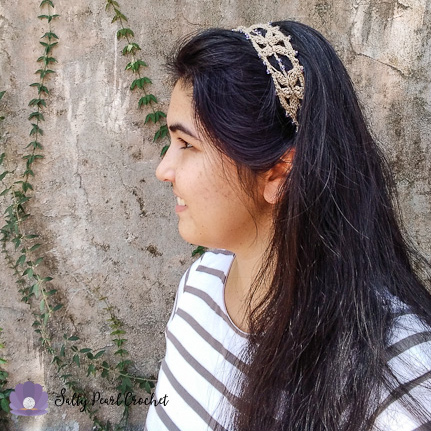
Hello, everyone! My name is Katie Clary, and that’s me in the photo below. I have been blogging at Salty Pearl Crochet, and Kirsten and I met through a crochet blogger’s group. I am so thrilled to be guest posting for Kirsten this weekend, as she has some big family plans for Memorial Day.
Now I know that this weekend marks the beginning of summer for most of you. Down here in sunny Florida, though, the weather has been way too warm for quite a while! As a mom to two preschoolers, our family outdoor time is about the only time I get for crochet before bedtime. Since I couldn’t handle the heat from my shawls and afghans anymore, I decided to whip up something small for myself as an outside project. I am so glad I did!
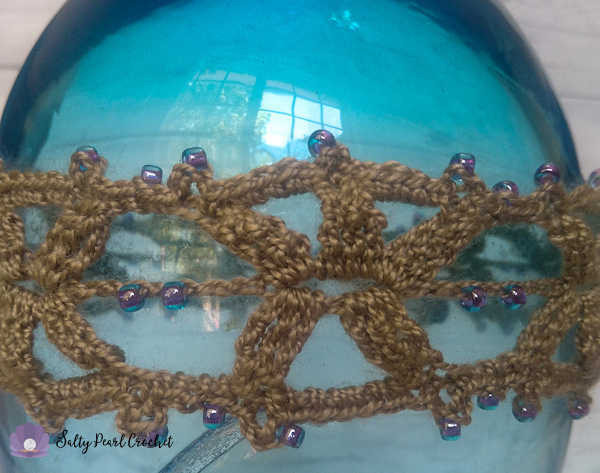
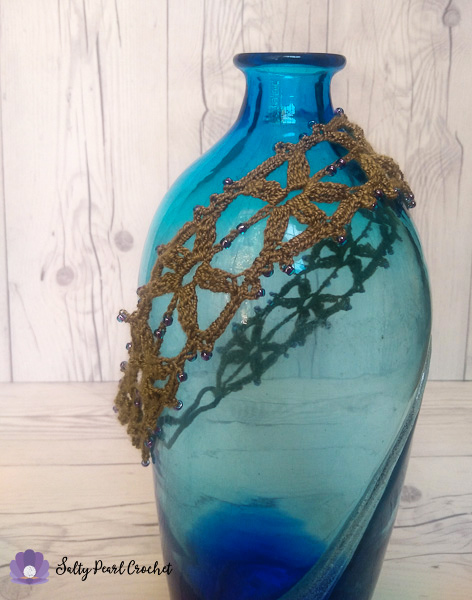
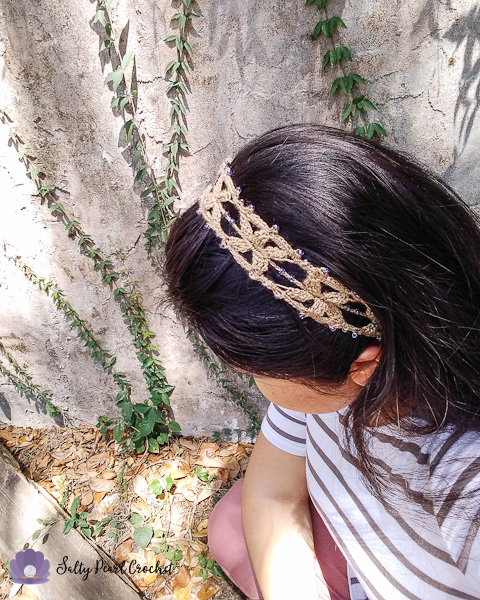
This delicate, Sand Dollar Lace headband was inspired by the beautiful simplicity of the sand dollar’s 5 point star. Once you get the hang of the double treble cluster stitch, this pattern works up fairly easily. The optional beading adds an extra element of interest, but it would look just as nice without them, in my opinion.
Difficulty:
Intermediate
Materials Needed:
A small amount of crochet thread, size 10, such as Aunt Lydia’s. Any lace weight yarn will do in a pinch!
C / 2.75 mm crochet hook
1 hair elastic, to make it adjustable
Optional: 77 size 6/0 (4 mm) seed beads.
Optional: beading needle
Stitches Used:
Ch – chain
Sc – single crochet
Tr – treble crochet
Dtr Cl – double treble cluster
Pc – picot
Special Stitches:
Double Treble Cluster: YO 3 times. Insert hook into st, YO, pull up a loop. YO and pull through 2 loops, 3 times. (2 loops on hook). YO 3 times, insert hook into st, YO, pull up a loop. YO and pull through 2 loops, 3 times. (3 loops on hook). YO 3 times, insert hook into st, YO, pull up a loop. YO and pull through 2 loops, 3 times. (4 loops on hook.) YO, pull through all loops on hook to complete your cluster.
Picot: ch 3, sl to previous st. For a beaded picot, add a bead to the 2nd ch.
Measurements:
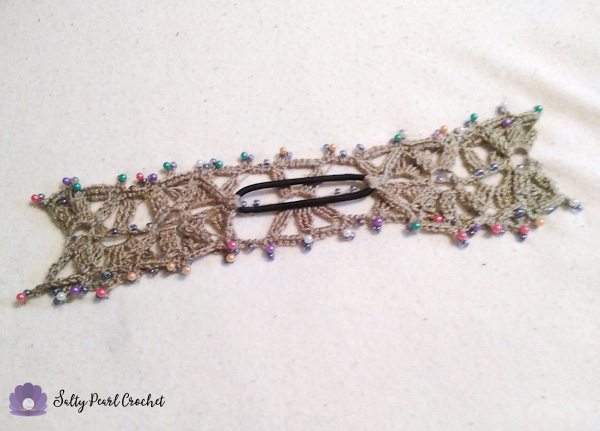
Length: 21”, stretches to fit 22.5”. Width: approx. 2” after blocking. Each pattern repeat (2 sand dollar motifs) measures 4”.
Additional Notes:
-My hair elastic measured 2.5” when squeezed into a straight line, and comfortably stretched to 3.5”.
-Remember to work about 1” shorter than the length of the head to allow for stretch.
-Your foundation row will determine the finished size of your piece. You can easily adjust the length here to reach the appropriate length by either adding or subtracting (2) stitch repeats, by using a different hook size to adjust your tension, or by using a different length of elastic.
-Each Tr in the foundation row creates a loop, and you will work your treble clusters into this space in Row 1.
Sand Dollar Lace Headband (US Terms):
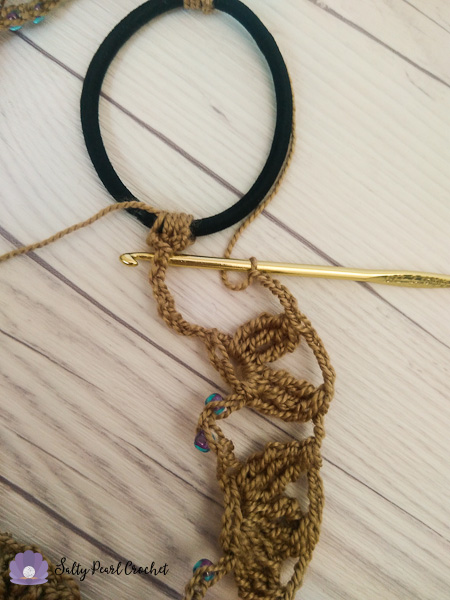
Make a slip knot. Work 3 sc around your hair elastic to secure the yarn to it. Turn, and slip to the center stitch.
(If using beads, place them on the second and 4th chains of each repeat on the foundation row.)
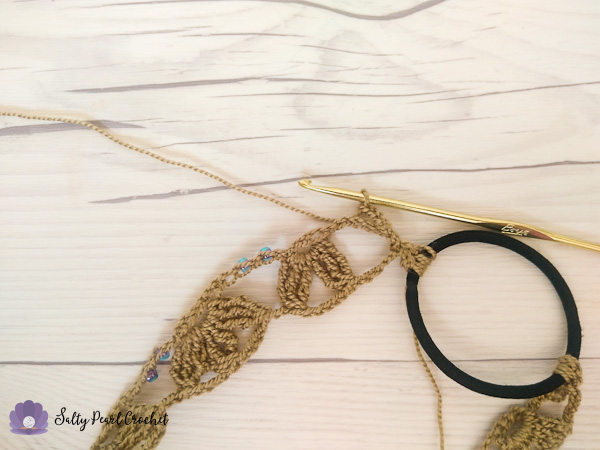
Foundation row: *Ch 11, Tr into 5th ch.* Repeat 8 more times. Being careful not to twist, sc 3 around the other end of your hairband, turn and slip to the last chain.
Row 1: Ch 6, *(Dtr Cl, ch 5, Dtr Cl) into first circle created. Ch 3, (Dtr Cl, ch 4, Dtr cl, ch 4, Dtr Cl) into next circle.* When you reach the end of your row, ch 6, and sl to the beginning chain.
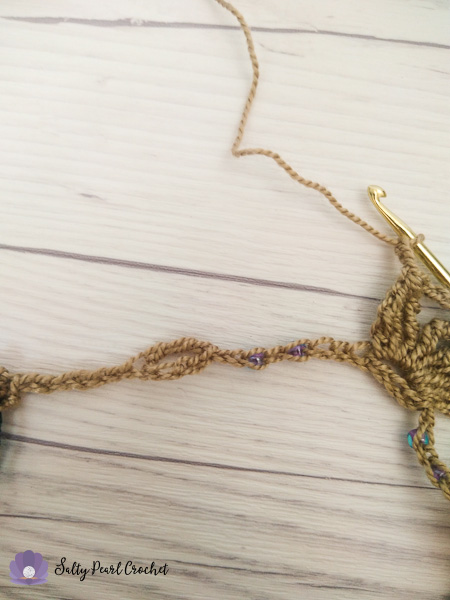
Row 2: Ch 6, *(Dtr Cl, ch 4, Dtr cl, ch 4, Dtr Cl) into first circle created. Ch 3, (Dtr Cl, ch 5, Dtr Cl) into next circle.* When you reach the end of your row, ch 6, and sl to the beginning chain.
Note that you will be working 3 cluster stitches into circles that have 2 on opposing side, and vice versa.
(If using beads, add one bead in each picot and one in each chain stitch on the edging.)
Edge Row 1: Sc 6 around the first ch sp. {(Sc, picot) into first Cl. Sc 5 around ch sp, (Sc, pc) into the next st. (Sc, ch, sc) into the next ch sp. (sc, pc) into next cluster. Sc 4 around ch sp. (Sc, pc) into next st. Sc 4 around ch sp. (Sc, pc) into next st. (Sc, ch, sc) into next ch sp.} Repeat across, ending with (Sc, pc) into next st, sc 5 into ch sp, (sc, pc) into next st, and 6sc around final ch sp.
Ch 1, and rotate to work the opposite side.
Edge Row 2: sc 6 around the first ch sp. {(sc, pc) into next cluster. Sc 4 around ch sp. (Sc, pc) into next st. Sc 4 around ch sp. (Sc, pc) into next st. (Sc, ch, sc) into next ch sp. (Sc, picot) into first Cl. Sc 5 around ch sp, (Sc, pc) into the next st. (Sc, ch, sc) into the next ch sp.} Repeat across, ending with (sc, pc) into next cluster. Sc 4 around ch sp. (Sc, pc) into next st. Sc 4 around ch sp. (Sc, pc) into next st, and 6sc around final ch sp. Sl to join.
Finishing:
Break yarn and weave in ends. Block tightly to open up stitch pattern.
I hope you have fun experimenting with adding beads to your crochet for this fun headband. Thank you so much to Kirsten for allowing me to guest post this weekend!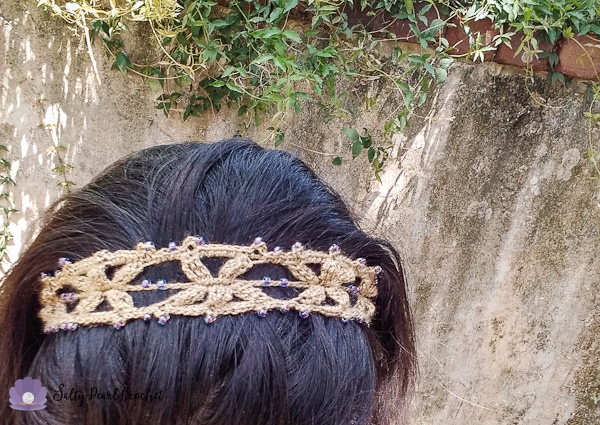
For those of you looking for more fun, breezy crochet patterns, please come visit me over at my blog, Salty Pearl Crochet. You can also find me on Pinterest, Instagram, and Ravelry!
Want more gorgeous crochet patterns, and a little encouragement for your day? Sign up for my newsletter here! That way you’ll never miss out on special events, or freebies I’m offering.
JOIN ME ON SOCIAL MEDIA
I would love to see a picture when you’re done, so please feel free to come by my Facebook group and show off your project!
You can also follow me on Facebook, Pinterest, Instagram, and Ravelry for more beautiful crochet patterns.
PATTERN TERMS AND CONDITIONS:
You are welcome to share the link to this pattern, using one image of your choice, on your site, but please do not share the written patterns themselves, this includes my Ravelry downloads or translations of these patterns, or use additional images. You do not have permission to use my images by themselves to create pinnable graphics for Pinterest, however they may be included in a roundup pin if there are 4 or more other patterns. If you sell finished items online, please do not use my pictures for your listings. I’m positive that your work is of high enough quality for you to sell the finished piece. Have confidence in your abilities! <3 Thank you!
This pattern was made to be used by individuals, and small business crocheters alike. Selling your finished pieces in boutiques, at farmer’s markets, craft shows, and other local events is encouraged! The only thing I require is that this pattern not be used commercially to produce hundreds of thousands of copies.
If you enjoyed this pattern or found it useful, why not share a link to this post with your friends?


Leave a Reply