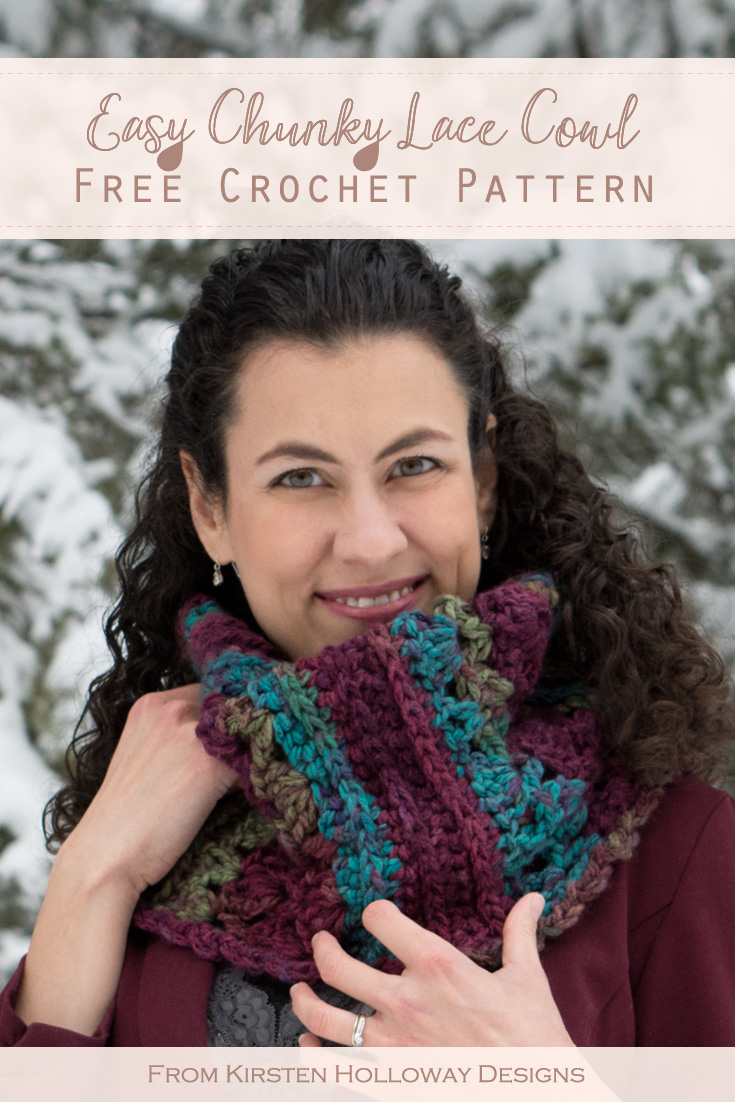
Because this easy crochet pattern uses chunky yarn, it works up so quickly, it is a perfect winter project to crochet for yourself! The soft, warm yarn and rich colors make this easy project a piece that will work year after year–classy elegance that never goes out of style. Find the free crochet pattern instructions below, or purchase a print-optimized, ad-free PDF by clicking here.
Click here to add this to your Ravelry queue!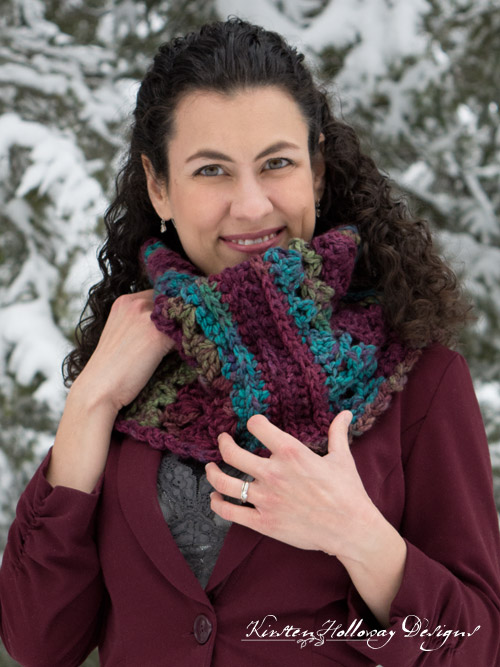
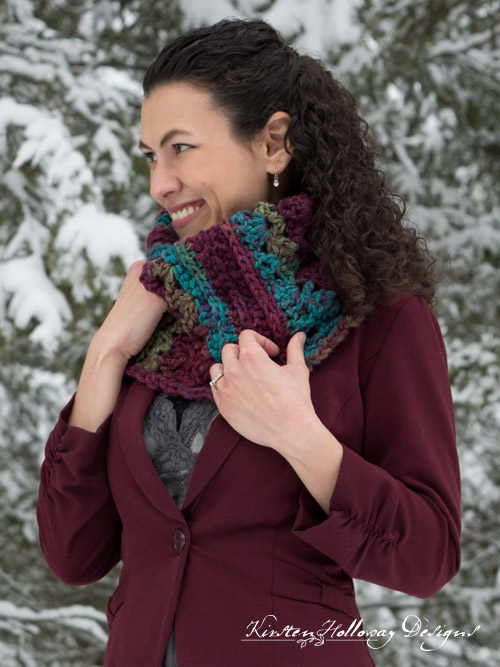
Chunky yarn is something I’ve not played around with a whole lot, but when I saw this variegated color at Michael’s last winter, I had to pick some up. However, It took almost a year to figure out that it was begging to be crocheted into a warm winter cowl. And not just any cowl, but neck warmer with hints of lace!
Have I mentioned how soft and warm this yarn is? Really, treat yourself. You’re worth it!
Disclaimer: This post contains affiliate links. When you purchase something using these links a small amount of the sales price goes to me to help keep this site, and the patterns on it free. You do not pay any extra for the item you purchase.
Difficulty:
Easy
Materials Needed
Approximately 230 yards Loops and Threads Charisma yarn in Mulberry Bush, or other #5 chunky yarn (My cowl used 2 full skeins, and a teeny-tiny bit of the 3rd skein)
9mm crochet hook, or hook needed to obtain gauge
yarn needle
scissors
Stitches Used:
ch = chain
sl st = slip stitch
sc = single crochet
hdc = half double crochet
dc = double crochet
st/sts = stitch/stitches
sp/sps = space/spaces
prev = previous
sk = skip
Additional Terms:
V-stitch = [dc, ch 1, dc] in same stitch
Stitching in the “3rd loop” of hdc. After turning, work all stitches for that row in the 3rd loop of the hdc from previous row (it will be in the front). Instructions: Look at the top of the stitch, and locate the sideways “V”, bend the stitch to look at the back, and you should see another “V”. You’ll be working into the back loop of that “V”, this is called the 3rd loop.
Gauge:
10 stitches in 4″
Measurements:
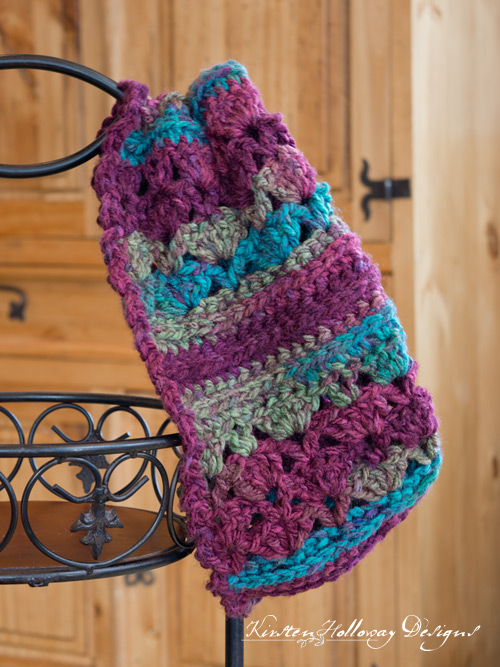
Finished cowl should measure 27″ around, by 14.5″ tall
Additional Notes:
-ch-1 at beginning of row does not count as a stitch
Mulberry Lace Chunky Cowl (US Terms):
Click here to purchase an ad-free, print-optimized PDF of this pattern on LoveCrafts
ch 34
Row 1: hdc in 3rd ch from hook (counts as first hdc), hdc in each st across, ch 1, turn. (33)
Row 2: working in 3rd loop of hdc, sc in each st across, ch 2 (counts as first hdc of next row), turn. (33)
Row 3: hdc in each stacross, ch 1, turn. (33)
Row 4: working in 3rd loop of hdc, sc in each st across, ch 2, turn (counts as first hdc). (33)
Row 5: hdc in each st across, ch 1 turn. (33)
Row 6: working in 3rd loop of hdc, sc in each st across, ch 4 (counts as first dc + ch-1 sp), turn. (33)
Row 7: dc in first st, *sk 3 sts, 5 dc in next st, sk 3 sts, V-stitch in next st; repeat from * across, ch 3 (counts as first dc), turn.
Row 8: 2 dc in ch-1 sp of prev row, *skip over to V-stitch from prev row, 5 dc in V-stitch, skip to center of 5-dc shell from prev row, V-stitch in top of shell; repeat from * across, 3 dc in final V-stitch (the ch-4 sp), ch 4 (counts as first dc + ch-1 sp), turn.
Row 9: dc in very first st, *skip over to V-stitch, 5 dc in V-stitch from prev row, skip to center of 5-dc shell from prev row, V-stitch in top of shell; repeat from * across. Final V-stitch will be worked in top of ch-3 from prev row, ch 3 (counts as first dc), turn.
Row 10: 2 dc in ch-1 sp, *sk 3 sts, 5 dc in V-stitch from prev row, skip to center of 5 dc shell from prev row, V-stitch in top of shell; repeat from * across, 3 dc in final V-stitch (ch-4 sp) ch 2 (counts as first hdc), turn,
Row 11: hdc in each st across, ch 2 (counts as first hdc), turn. (33)
Repeat rows 2-11, 3 more times. **On your last repeat stop at row 10**
Cut yarn leaving a tail that is about 18″ long. Use this tail to sew your ends together to make a tube.
Cut yarn, and weave in ends
Edging:
Attach yarn to one end of tube,
*ch 3, sl st; repeat from * around the edge. I left about a half inch between my slip stitches.
Fasten off, and repeat on the other end of the tube.
Fasten off, and weave in all ends.
Want more gorgeous crochet patterns? sign up for my newsletter here!
JOIN ME ON SOCIAL MEDIA
I would love to see a picture when you’re done, so please feel free to come by my Facebook group and show off your project! Be sure to tag @kirstenhollowaydesigns when you share pictures of your finished cowl on Instagram, and use #mulberrylacechunkycowl
You can also follow me on Facebook, Pinterest, Instagram, and Ravelry for more beautiful crochet patterns.
PATTERN TERMS AND CONDITIONS:
You are welcome to share the link to this pattern, using one image of your choice, on your site, but please do not share the written patterns themselves, this includes my Ravelry downloads or translations of these patterns, or use additional images. You do not have permission to use my images by themselves to create pinnable graphics for Pinterest, however they may be included in a roundup pin if there are 4 or more other patterns. If you sell finished items online, please do not use my pictures for your listings. I’m positive that your work is of high enough quality for you to sell the finished piece. Have confidence in your abilities! <3 Thank you!
This pattern was made to be used by individuals, and small business crocheters alike. Selling your finished pieces in boutiques, at farmer’s markets, craft shows, and other local events is encouraged! The only thing I require is that this pattern not be used commercially to produce hundreds of thousands of copies.
If you enjoyed this pattern or found it useful, why not share a link to this post with your friends?


Hey Kirsten, would this pattern work in worsted weight? Like doubling the number of stitches. I’m speaking for a friend of mine that would love to use worsted weight yarn in your pattern
I have no idea, but you could try it and see! It would end up looking a bit different than my original piece. 🙂
Hello, Kirsten! Thank you for the lovely cowl pattern. I was wondering if there are any instructions missing at the end of row 7 before row 8? How does row 7 end? Perhaps I am misunderstanding the pattern. I have worked through to row 9, but have had to pull it out twice because it doesn’t seem to match correctly. Can you help me with this section? I would greatly appreciate any explanation you can offer. Thank you so very much!
Im sorry you’re having troubles with this! Row 7 should begin and end in a V-stitch (ch 4, dc in same stitch counts as a V-stitch), row 8 should begin and end in a 3 dc. You’ll alternate V stitches and shells so that you are always working a shell in a V-stitch, and a V-stitch in the 3rd stitch of your 5 dc shell (which is the center). Your rows that end with shells will only have 3 dc because they are half shells (to keep the rows going straight), so work your v-stitch in the very end (or beginning) of the shell depending on which end of the row you’re on. I hope that helps!
Thank you so much – I am looking forward to wearing these beautiful colors woven into such a sweet pattern!
You’re very welcome! 🙂
That is SO pretty!! I need to run to the store and get some yarn. I’ll definitely be making this one soon. Thanks 🙂
You’re very welcome! I’m glad you like it!