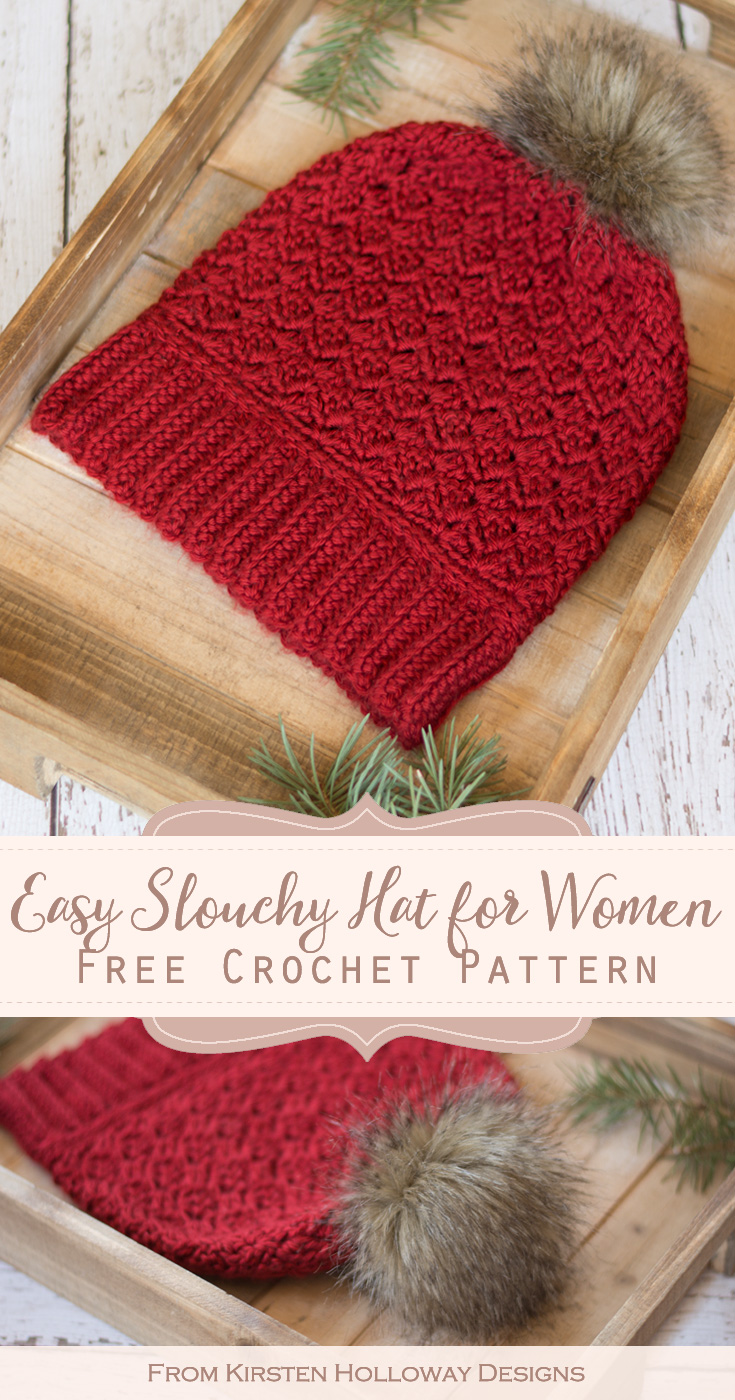
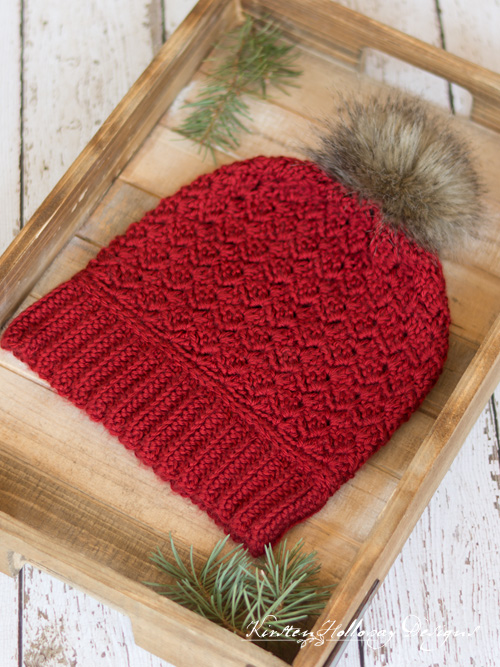
Let this soft, luxurious winter slouch hat pattern take you from day to date-night. The tulip stitch gives this women’s crochet hat a beautiful drape making it functional, yet stylish. This easy slouch hat pattern is quick and simple to follow, and I know you will love how comfortable this piece is to wear when you finish! Find the free crochet pattern instructions below, or purchase a print-optimized, ad-free PDF by clicking here.
Click here to add this pattern to your Ravelry queue!
Part of this hat’s comfort comes from using Caron Simply Soft. It’s one of my favorite acrylic yarns to make crochet hats (and scarves) with because it feels like more expensive silk blend yarn. And since my crocheting budget is limited, affordable luxury is where it’s at!
To make this crochet pattern, you’ll need to be comfortable with double crochet, half double crochet, single crochet, chains and slip stitches. You’ll also need to be familiar with working in the 3rd loop of a half double crochet stitch in order to make the brim of the hat. The fun thing about this special crochet stitch is that it looks almost knit from a distance.
Because I love to crochet matching sets, you can find the easy Cranberry Twist Scarf pattern, here! Keep scrolling down for the slouch hat crochet pattern.
Disclaimer: This post may contain affiliate links. When you purchase something using these links a small amount of the sales price goes to me to help keep this site, and the patterns on it free. You do not pay any extra for the item you purchase.
Difficulty:
Easy
Materials Needed:
4 mm (G) hook (brim), or hook needed to obtain gauge
5 mm (H) hook (body), or hook needed to obtain gauge
5.5mm (I) hook (slip stitched trim)
150-175 yards of Caron Simply Soft in Autumn Red
yarn needle
scissors
sewing needle
heavy duty button thread
1/4 yard Luxury Faux Wolf Fur Fabric material – Grey
large pom-pom maker (optional)
Stitches Used:
Used ch = chain
sl st = slip stitch
sc = single crochet
hdc= half double crochet
dc = double crochet
st/sts = stitch/stitches
sp/sps = space/spaces
Additional Terms
-To work this pattern you will need to be comfortable Stitching in the “3rd loop” of hdc. Directions: After turning, work all stitches for that row in the 3rd loop of the hdc from previous row (it will be in the front). Instructions: Look at the top of the stitch, and locate the sideways “V”, bend the stitch to look at the back*, and you should see another “V”. You’ll be working into the back loop of that “V”, this is called the 3rd loop. *When working in rows, this loop will be facing you!
Gauge:
(brim) 5 hdc in 1″, (hat body) 4 repeats in 4″: [dc, ch 2, sc] in same st, sk 3 sts.
Measurements:
Adult hat measures 10″ by 10″, excluding pom-pom
Child hat measures 9″ by 9″, excluding pom-pom
Additional Notes:
-The main part of this hat is worked back and forth, like rows, but they are joined at the end with a slip stitch, before turning, and heading back the direction you just came.
-The numbers in parentheses denote (child, adult) stitch counts.
-Use loose tension when making the top part of this hat, or go up a hook size if your measurements are off.
Cranberry Twist Slouchy Hat Pattern (US Terms):
Click here to purchase an ad-free, print-optimized PDF of this pattern on LoveCrafts
With 4mm (G) hook,
Row 1: Leaving a 8″ tail, ch 13, hdc in 3rd ch from hook (counts as first hdc), hdc in each st across, ch 2 (counts as first hdc of next row), turn. (12)
Rows 2-60: working in 3rd loop of hdc from prev row, hdc in each st across, ch 2, turn. (12)
Note: Ribbing should measure 2 1/2” tall, and 18″ long after row 52 (child), or 20” long after row 60 (adult).
When you complete row (52, 60), Fold brim in half and use tail to sew ends together, then continue with the next part of the hat.
Round 1: ch 1, evenly space (64, 72) sc along the brim. This works out to approximately 1 sc in each hdc, increasing after every 5th stitch, join with sl st to first sc. (64, 72)
With 5mm (H) hook,
Round 2: ch 1, sc in next (7, 5) sts, 2 sc in next st, *sc in next (7, 5) sts, 2 sc in next st; repeat from * around, join with sl st to first sc. (72, 84)
This next section is worked in joined rounds, however, you will be turning and working in the opposite direction at the end of each round.
Round 3: ch 2 (counts as first dc), (dc, ch 2, sc) in same stitch as join, *sk 3 sts (2 dc, ch 2, sc) in next st; repeat from * across, join with sl st to top of ch-2. (18, 21 bumps)
Round 4: ch 1, turn, and work back the way you came from: sl st into ch-2 sp, ch 2 (counts as first dc), (dc, ch 2, sc) in ch-2 sp, *(2 dc, ch 2, sc) in next ch-2 space; repeat from * around, join with sl st to top of ch-2. (18, 21 bumps)
Repeat round 4, 8 more times or until your hat measures (5″, 6″) tall from the top of the brim. If you want a slouchier hat feel free to continue repeating round 4 until it is an inch or two shorter than the length you want it.
Start decrease rounds:
Decrease round 1: ch 1, turn and work back the way you came from: sl st into ch-2 sp, (ch 2, dc, ch 2, sc), (2 dc, ch 2, sc) in next ch-2 sp, sl st in next ch-2 sp, *(2 dc, ch 2, sc) in next ch-2 sp, (2 dc, ch 2, sc) in next ch-2 sp, sl st in next ch-2 sp; repeat from * around, join with sl st to top of ch-2 at beginning of round. (12, 14 bumps)
Decrease round 2: ch 1, turn and work back the way you came from: sl st into ch-2 sp, (ch 2, dc, ch 2, sc), sl sl in next ch-2 sp, *(ch 2, dc, ch 2, sc) in next ch-2 sp, sl sl in next ch-2 sp; repeat from * around, join with sl st to top of ch-2 at beginning of round. (6, 7 bumps)
Decrease round 3: ch 1, turn and work back the way you came from: sl st into ch-2 sp, (ch 2, dc, ch 2, sc), sl st in next ch-2 sp *(2 dc, ch 2, sc), sl st in next ch-2 sp; repeat from * around, join with sl st to top of ch-2. (3, 4 bumps)
Pull up a long loop from your sl st (about 6″). Cut, and pull the tail through the loop. Use this length of yarn to stitch around the opening, and pull it tight.
Fasten off securely and weave in ends
Trim:
With 5.5mm hook, slip stitch very loosely around brim between rounds 1 and 2.
Fasten off, and weave in ends.
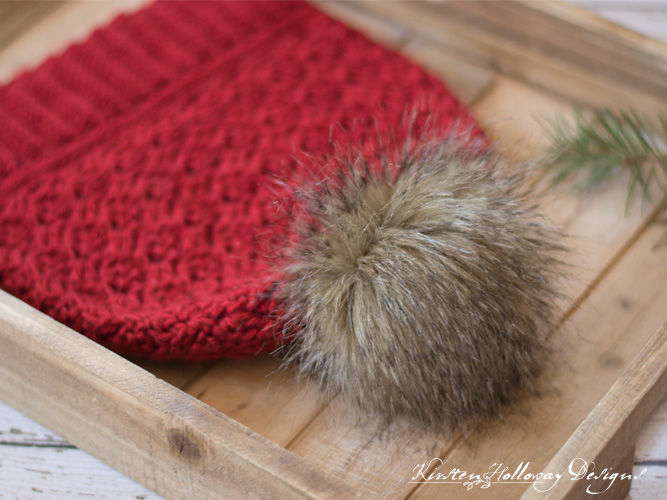
Faux Fur Pom-Pom Tutorial:
1. Trace a circle around a small bowl or cup using a marker, on the back side of the fabric. My circle was 5″ across.
2. Cut out the circle. Only cut the fabric backing–not the fur itself! I recommend an Exact-o or similar craft knife.
3. With your needle and thread, sew a loose running stitch near the edge of the circle
4. Take a small amount of polyester stuffing and put it in the middle of the circle.
5. Tug on the ends of the thread to cinch the circle into a ball. It should be snug so the fiber fill doesn’t come out.
6. Tie off securely, and then sew the pom-pom to your beanie.
I would love to see a picture when you’re done, so please feel free to come by my Facebook group and show off your hat! Be sure to tag @kirstenhollowaydesigns when you share pictures of your finished slouch hat on Instagram, and use #cranberrytwistslouchhat!
You can also follow me on Facebook, Pinterest, Instagram, and Ravelry for more beautiful crochet patterns.
Pattern Terms and Conditions:
You are welcome to share the link to this pattern, using one image of your choice, on your site, but please do not share the written patterns themselves, or use additional images. You do not have permission to use my images by themselves to create pinnable graphics for Pinterest, however they may be included in a roundup pin if there are 4 or more other patterns. If you sell finished items online, please do not use my pictures for your listings. I’m positive that your work is of high enough quality for you to sell the finished piece. Have confidence in your abilities! <3 Thank you!
This pattern was made to be used by individuals, and small business crocheters alike. Selling your finished pieces in boutiques, at farmer’s markets, craft shows, and other local events is encouraged! The only thing I require is that this pattern not be used commercially to produce hundreds of thousands of copies.
If you enjoyed this pattern or found it useful, why not share a link to this post with your friends?


Very nice instructions very clear and easy to follow thank you
Hey Kirsten,
In the second row of the body of the hat, I’m not understanding how you fit 84 stitches in the 72 from the previous row by sc in 7 then 2 sc in one. I can only fit 81 which then only allows for 20 bumps in the next row. What am I missing here? Thanks!
It looks like I left out the adult number. The child’s size number is 7, the adult’s size number should be 5. I’ve fixed it in the pattern. I hope that helps!
Is there a video tutorial with this pattern?
I’m sorry, there is not.
I was following until we got to the trim. Now I’m stumped.
Also, what is the multiple on the body of the hat please? I’m trying to decrease the size to make a newborn hat (14” x 5.5/5.75). Thank you in advance!
The hat body is written in multiples of 4. I’m not sure what troubles you’re having with the trim. Can you please explain further?
Help, I have the brim done but I can’t figure out where to place the sc around the brim.
You will place the sc evenly along the side of the band. 🙂