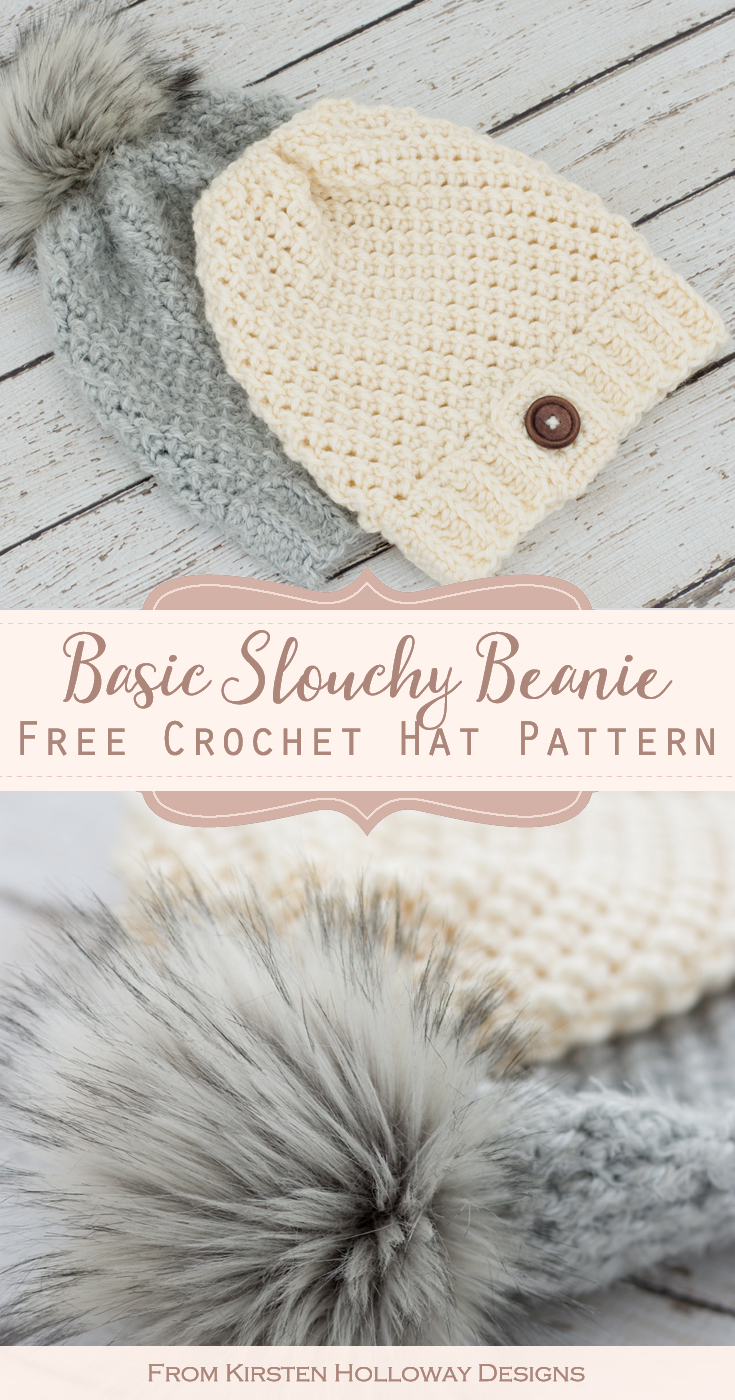
We all need a quick, easy hat pattern to crochet especially at this time of year, right? Well, this is one of the easiest and most stylish chunky hats to crochet for your winter wardrobe! The textured stitches create a classic look that fits in with almost any occasion, keeping you warm and comfortable as temperatures get colder. It’s slightly slouchy, but the brim can be folded to make a beanie if you slouch hats aren’t your thing–just make that decision before adding your button tab. Find the free crochet pattern instructions below, or purchase a print-optimized, ad-free PDF by clicking here.
Click here to add this pattern to your Ravelry queue!
I am always in a rush to finish up presents this time of year, and I know many of you are too, which is why you are going to love this hat pattern! It can be made in only a couple of hours start to finish so pop in “White Christmas” or “It’s a Wonderful Life”, and with a little holiday magic on your part, you should have a hat by the time you’re done watching! I used a 5.5mm and 6.5mm hook to crochet my hat, but if you crochet with tight tension you may need to go up a hook size or two. The hat should fit a teen or an adult woman.
This hat uses two stitches for the main body of the hat which you probably already are familiar with: single crochet and Front Post double crochet. If you’re not as familiar with Front Post double crochet don’t worry, it’s easy to learn and I have a description in the “Additional Notes” section of the pattern that should help you get started. The neat thing about the stitches in this hat are that they create the look of knitted fabric but work up very quickly so you’ll have time to make plenty of these for holiday gift giving, donations to homeless shelters, or cancer centers.
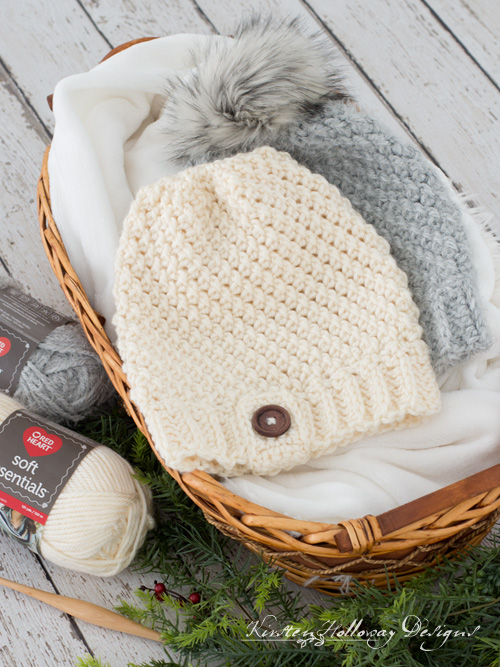
I chose Red Heart Soft Essentials for this pattern because this yarn is so, well, soft! It is very nice to work with and slides smoothly over my hands while crocheting. Plus since it’s a chunky yarn it’s so warm and squeezable! (Squeezing yarn while you crochet/work on a project is a thing, right?). I had originally planned to only crochet this hat in Red Heart Soft Essentials yarn, but here’s where this hat pattern’s versatility comes in: one of the ladies in my Facebook group made my Double Seed Stitch slouch hat (which this hat is based on) using Red Heart Hygge, and I liked it so much I just had to try making another hat using that yarn. I plan to give it as a Christmas gift to my mom who may or may not be having trouble trying to stop herself from squeezing it. The yarn is just that amazing, folks, seriously! (Notice a trend here? Like daughter, like mother, or, uhh… something along those lines.)

Disclaimer:
This post contains affiliate links. When you purchase something using these links a small amount of the sales price goes to me to help keep this site, and the patterns on it free. You do not pay any extra for the item you purchase.
Difficulty:
Easy
Materials Needed:
5.5mm (I) hook, or hook needed to obtain gauge – band
6.5mm (K) hook, or hook needed to obtain gauge – hat body
150 yards #5 chunky weight Red Heart Soft Essentials in “Cream”, or Red Heart Hygge in “Cloud”
Yarn needle
Scissors
1″ wooden button
(Optional materials if you want to make a pom-pom) :
1/4 yd Fashion Faux Fox Fur Fabric -Silver
Heavy-duty button thread
Sharp, heavy duty sewing needle
Golf-ball sized piece of polyester stuffing
Stitches Used:
sl st = slip stitch
ch = chain
sc = single crochet
FPdc = front post double crochet
Additional Terms:
hdc in the 3rd loop = Look at the top of the stitch, and locate the sideways “V”, bend the stitch to look at the back*, and you should see another “V”. You’ll be working into the back loop of that “V”, this is called the 3rd loop. *For this hat band the textured portion created by working hdc in the 3rd loop should always be facing you when beginning a new row.
Gauge:
Hat body: 12 sc, FPdc sts in 4″
Hat band: 7 hdc sts in 2″
Measurements:
Finished adult hat measures approximately 10” tall by 10” wide.
Additional Notes:
-Ch-1 at beginning of round does not count as a stitch.
-If you do not know how to work a Front Post double crochet stitch here are some written instructions that may help: Instead of putting your hook through the sideways V at the top of the stitch, wrap your hook around behind the post (body) of the stitch and draw up a loop, complete the stitch as you would a regular double crochet.
-This hat comes out slightly slouchy. If you prefer you can make a beanie by stopping after about 8″ of height instead of 10″ as the pattern mentions.
-If you enjoy the way this stitch looks you may enjoy my Easy Double Seed Stitch Slouch Hat which this hat was patterned after. That hat comes in 3 sizes.
Easy Chunky Double Seed Stitch Hat Pattern (US Terms):
Click here to purchase an ad-free, print-optimized PDF of this pattern on LoveCrafts
Hat band:
Using 5.5mm (I) hook,
Row 1: Leaving a 10″ tail, ch 8, hdc in 3rd ch from hook (skipped sts count as first hdc), hdc in each stitch across. (7)
Rows 2-40: ch 2* (counts as first hdc), turn, working in 3rd loop of hdc from previous row, hdc in each stitch across. *Remember to skip the very first stitch of the row each time. (7)
The band should measure about 20” long and wrap comfortably around your head at this point. If it seems too big you are welcome to leave off some of the final rows, but be sure to adjust your stitches in round 1 below to maintain the same stitch count as the pattern calls for.
Drop working yarn, but do not fasten off.
Sew ends of band together with 10” tail left over from row 1.
Hat body:
Pick up working yarn.
Using 6.5mm (K) hook, crochet this next section along the side of the band:
Round 1: ch 1, 2 sc in first hdc, sc in each of the next 2 hdc sts, *2 sc in next hdc, sc in each of the next 2 hdc sts; repeat from * around, 2 sc in final st, join with sl st to first sc. (54 sc)
Round 2: ch 1, FPdc around first st, sc in next, * FPdc around next st, sc in next st; repeat from * around, join with sl st to first FPdc. (27 FPdc, 27 sc)
Round 3: ch 1, *sc in FPdc, FPdc around sc; repeat from * around, join with sl st to first sc. (27 sc, 27 FPdc)
Round 4: ch 1, FPdc around sc, sc in FPdc; repeat from * around, join with sl st to first FPdc. (27 FPdc, 27 sc)
Repeat rounds 3 and 4 until your piece measures 10” tall from bottom of brim to top of hat then begin the decrease rounds.
Decreases:
(Optional): if you are a more experienced crocheter you may work a sc2tog in each st around for both of the next two rounds. Otherwise, follow the instructions below.
Round 1: ch 1, sc in each FPdc skipping the sc sts, join with sl st to first sc. (27)
Round 2: ch 1, sc in every other sc from prev round, join with sl st to first sc. (13)
You should have a large, round tube at this point. Turn it inside out to complete the next part.
Cut 18” length of yarn and string half-way through large-eyed yarn needle. Go through every other stitch all the way around the top of the hat, and then cinch it closed. Knot the ends together securely with a square knot. Weave in ends.
Turn hat right-side out again.
Button tab:
With 5.5mm hook,
Ch 4,
Row 1: Sc in second ch from hook, sc in each remaining chain across, ch 1, turn. (3)
Row 2: sc in each st across, ch 1, turn. (3)
Repeat row 2 until your tab measures 4” long.
To finish, sc evenly around the edge of the tab, fasten off leaving an 18″ tail for sewing the tab to the hat.
Wrap button tab around the brim with half inside, half outside, and sew it onto the hat, then sew on button.
Optional Pom-Pom:
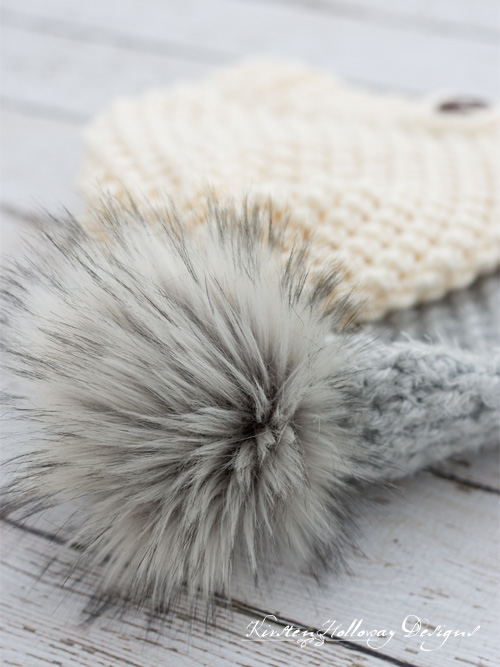
If your hat needs a pom-pom instead of, or maybe in addition to a button tab, follow these instructions:
Pom-Pom Tutorial Written Instructions:
1. Trace a circle around a small/medium-size bowl or lid using a pencil, on the back side of the fabric. My circle was 5″ across.
2. Cut out the circle. Only cut the fabric backing–not the fur itself! I recommend an Exact-o or similar craft knife.
3. With your needle and thread, sew a loose running stitch near the edge of the circle
4. Take a small, golf-ball-sized amount of polyester stuffing and put it in the middle of the circle.
5. Tug on the ends of the thread to cinch the circle into a ball. It should be snug so the fiber fill doesn’t come out.
6. Tie off securely, and then sew the pom-pom to your beanie.
Sharing a link to this post with your friends is always appreciated!
Want more gorgeous crochet patterns, and a little encouragement for your day? Sign up for my newsletter here! That way you’ll never miss out on special events, or freebies I’m offering.
JOIN ME ON SOCIAL MEDIA
I would love to see a picture when you’re done, so please feel free to come by my Facebook group and show off your project! Be sure to tag @kirstenhollowaydesigns when you share pictures of your finished hat on Instagram.
You can also follow me on Facebook, Pinterest, Instagram, and Ravelry for more beautiful crochet patterns.
PATTERN TERMS AND CONDITIONS:
You are welcome to share the link to this pattern, using one image of your choice, on your site, but please do not share the written patterns themselves, this includes my Ravelry downloads or translations of these patterns, or use additional images. You do not have permission to use my images by themselves to create pinnable graphics for Pinterest, however they may be included in a roundup pin if there are 4 or more other patterns. If you sell finished items online, please do not use my pictures for your listings. I’m positive that your work is of high enough quality for you to sell the finished piece. Have confidence in your abilities! <3 Thank you!
This pattern was made to be used by individuals, and small business crocheters alike. Selling your finished pieces in boutiques, at farmer’s markets, craft shows, and other local events is encouraged! Please credit/link Kirsten Holloway Designs when selling finished products online. The only thing I require is that this pattern not be used commercially to produce hundreds of thousands of copies.
If you enjoyed this pattern or found it useful, why not share a link to this post with your friends?


How many chains do i do
This hat starts with crocheting the band at the bottom. The instructions say to chain 8, so that’s what you’ll start out with unless you want your brim wider. 😊
Could you please resend the pattern,.. I need a easy pattern for a hat for a teenager, HELP
Were you following the pattern on this site or had you purchased the ad-free, print optimized version on Ravelry? If you purchased it on Ravelry then check your library and you should be able to re-download the pattern. 😊
Hello! Love this pattern. Does it have a matching one for a scarf? If not, I’d love advice on how to adapt it for one. Thanks!
Hi April,
I don’t have a matching scarf for this hat, but it would be pretty easy to crochet one in multiples of 2+1 for a flat scarf. Or you could make a cowl/infinity scarf by increasing the hat body stitch count by 12 or so for the starting chain, and then just follow the body instructions until the cowl is as tall as you would like. 🙂
Hi there,
I love this hat! I have completed the hat band. Question about these instructions:
Round 1: ch 1, 2 sc in first hdc, sc in each of the next 2 hdc sts, *2 sc in next hdc, sc in each of the next 2 hdc sts; repeat from * around, 2 sc in final st, join with sl st to first sc. (54 sc)
Do I do 2 single crochets in the same stitch?
Also,
Yes, where it says 2 sc in first st (or next st) you will work 2 sc in that stitch. Then where it says sc in each of the next 2 hdc sts you’ll work only 1 sc in each of the next 2 stitches. It’s crocheted just like it sounds. 😊
Hi, I’ve made the band, but now to do the body, the pattern says ‘crochet this next section along the side of the band’. I’m not sure how to do that. (I’m a beginner!). Can you explain in a bit more detail? Or is there a video?
I love the pattern and look forward to continuing!
Thanks!
Barb,
You’ll be working along the side of the band you just finished. There are no traditional stitches to work into like you’ve been used to in the past. This time you’ll be working into the sides of the stitches. I don’t have a video, but you are welcome to join my Facebook group and ask questions in there if you get stuck. There are lots of helpful ladies that are familiar with working “bottom-up” hats. 😊
Hi! What do you mean by “working in 3rd of hdc from the previous round”? I can’t figure it out. The hats are adorable! I’ve got all my supplies, can’t wait to get started! Thanks for pattern
Cheers!
Liana
The 3rd loop is the “yarn over” of the hdc stitch. It is most visible at the back of the stitch, and it will be facing you after you turn. Here is a video from a different pattern that shows how to work the stitch: https://www.facebook.com/watch/?v=1884031391814874
Thanks for this video! Very helpful! About to try this pattern this morning!
You’re welcome! Enjoy!
My first row of the hat body has 60 sc. What am I doing wrong.
Thanks for your help.
Hi Lynn,
Did you start with 40 rows in your band? It will take a little bit of adjusting on your part if you went over the 40 rows I mention in the pattern.