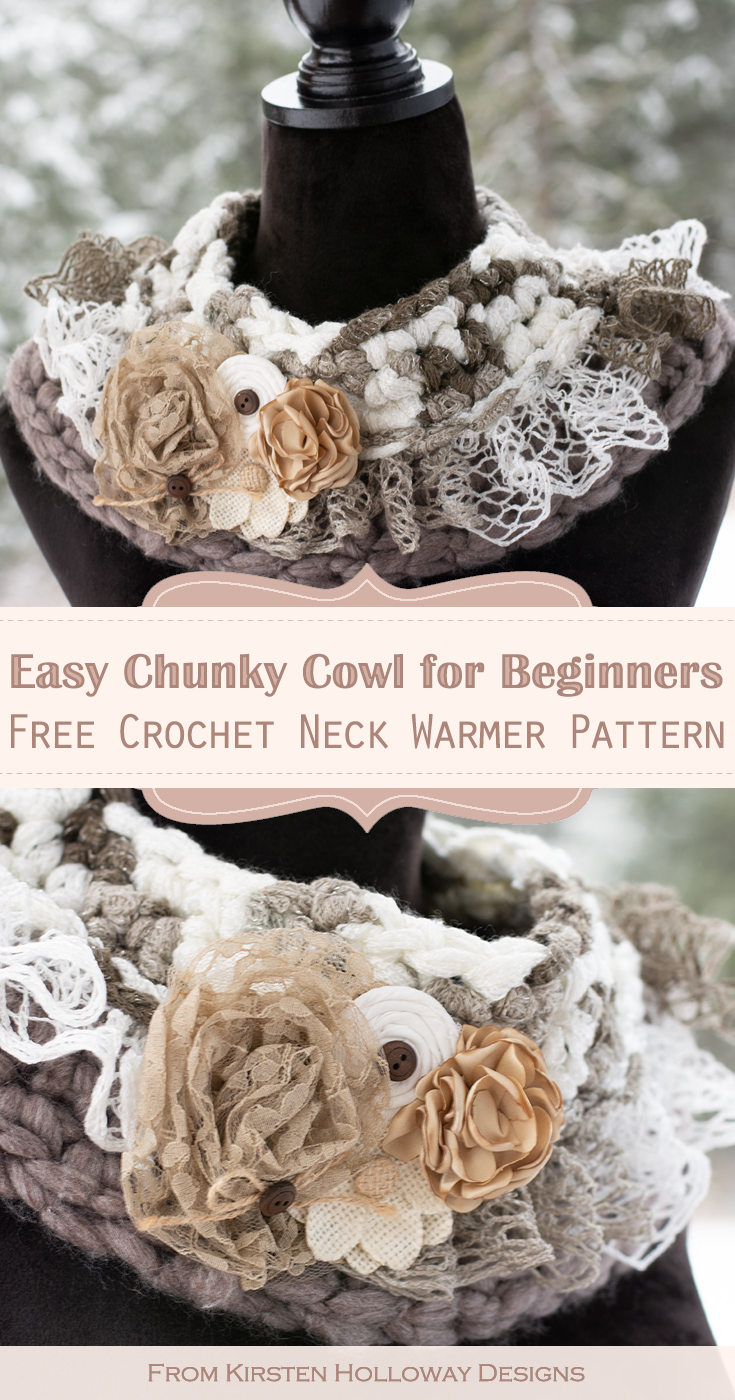
This quick pattern tutorial will show absolute beginners how to crochet a cowl using simple single crochet stitches. Chunky yarn means it is so easy to crochet, and it will keep your neck warm in winter. Find the free crochet pattern instructions below, or purchase a print-optimized, ad-free PDF by clicking here.
Click here to add this to your Ravelry Queue!
If you’ve been crocheting for any length of time chances are you have acquired a skein or two of Sashay yarn. You know, the ruffle yarn that was popular for making scarves 20 years ago? The yarn that you’re not sure what else to use it for, but can’t get rid of? I’ve got you covered. In the following tutorial I will be using it to create a cute winter cowl that is so quick and easy, even a beginner could crochet it!
This simple cowl is something kids, teens, and adults will enjoy wearing, and uses only three stitches: chain, single crochet, and slip stitch. I’ve written this post more for kids and teens, but this cowl is something anyone of any age and skill can easily work up in an hour or less.
If you know how to crochet, and know the names of the stitches, but are not sure how to read a crochet pattern, I’ve included a quick tutorial below. If you already know this stuff keep scrolling down to get to the pattern.
How to crochet a chunky cowl (for absolute beginners):
If this is your first time looking at a crochet pattern, you may be wondering what all these letters are for. To save space and time when writing down a pattern, designers use abbreviations. The nice thing is that most of these terms make a lot of sense since the first letters of the stitch (i.e. sc = single crochet) are frequently used in patterns written in American English.
Here are a few common stitch abbreviations and their meanings:
If you want a more in-depth crochet pattern reading tutorial click here
sl st = slip stitch
ch = chain
sc = single crochet
hdc = half double crochet
dc = double crochet
tr = treble crochet
BLO = back loop only
FLO = front loop only
st/sts = stitch/stitches
Many patterns also have extra information that will explain special stitches, or additional notes on how to work the pattern. It is important to read all the notes before you start; otherwise, you might have to rip out (undo) all your hard work! In the crochet community this is referred to as “frogging” (“rip it” sounds a bit like “ribbit”).
The way you would interpret terms in a pattern is as follows:
I’ll be using part of the cowl pattern below to explain
With 16mm hook, and Sashay yarn,
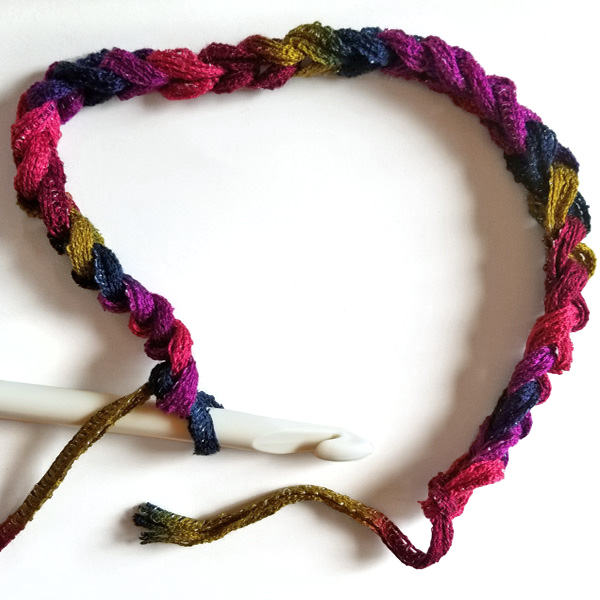
Round 1: ch 30, join with sl st to form a circle.
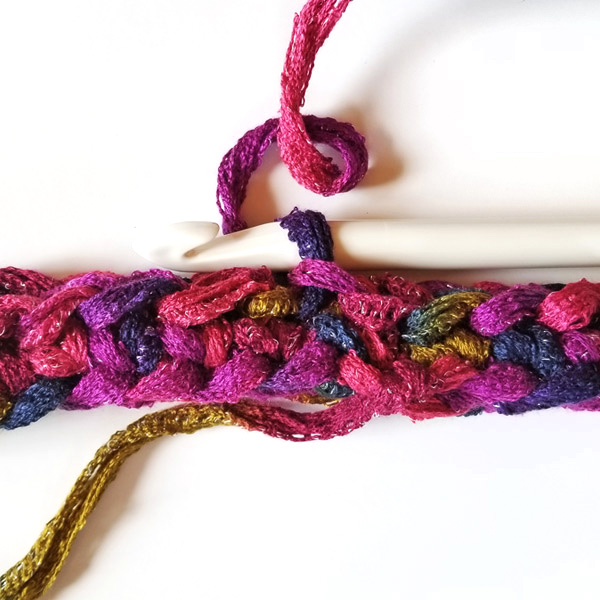
Rounds 2-4: ch 1, sc in each st around, join with sl st to first sc. (30)
In simple English,
- Round 1 tells you to crochet 30 chain stitches, then instructs you to join the ends of the chain with a slip stitch. This will form a circle.
- Round 2 tells you to make one chain as you start the new round, then to make a single crochet in each chain (these are the chains you made in Round 1).
- Rounds 3 and 4 will be the same as Round 2.
- The number 30 in parentheses ( ) at the end tells you how many stitches you should have in your round when you finish it. Proper stitch counts are very important for quality crochet work!
One extra item of note: If you see instructions preceded by an asterisk “*” and ending with a semi-colon “;”, it means that you need to repeat what is between those symbols until you reach the end of the round. You’ll see these later on in the pattern.
Measurements will tell you how big your project is supposed to be when it’s completed, and gauge tells you how big or small your stitches are supposed to be. In this particular cowl pattern, each stitch should take up about an inch. The yarn is very thick, so that shouldn’t be a problem! However, if you crochet tightly, you may want to use a larger hook than the one I used.
Everyone’s tension varies, so making a gauge swatch before starting can be helpful, especially if the piece you make will be fitted. Gauge is not as important with this cowl as it would be for a hat, for instance.
If the above instructions make sense, let’s move on to making the cowl!

Disclaimer: This post contains affiliate links. When you purchase something using these links a small amount of the sales price goes to me to help keep this site, and the patterns on it free. You do not pay any extra for the item you purchase.
Difficulty:
Beginner/Easy
Materials Needed:
16mm Q hook, or hook needed to obtain gauge
8mm M hook (a smaller hook will work though, since you will only be using it to slip stitch the ruffle on)
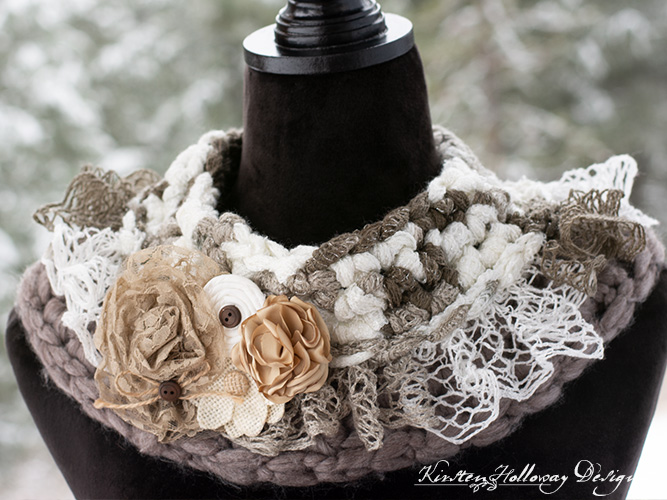
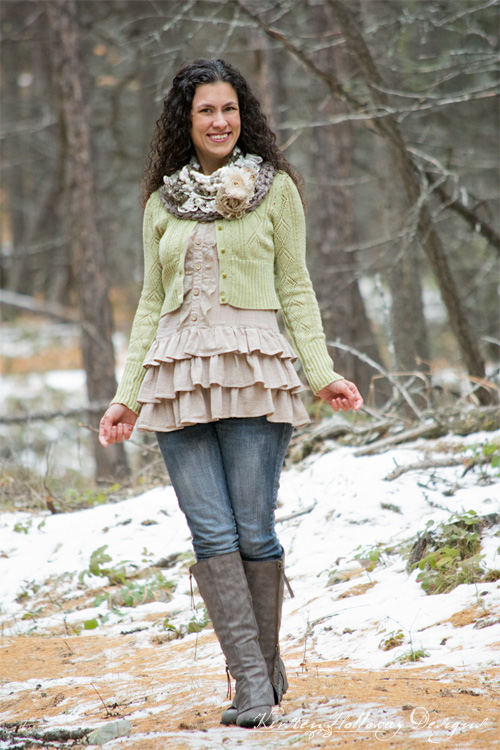
1 ball Red Heart Boutique Sashay in “Mambo” or the color of your choice. I used the colorway “Shuffle” for the brown and white cowl in the pictures above.
25 yards of Super Bulky (#6) yarn in a complementing color of your choice. I used Red Heart Boulevard in “Society”, which is labeled as a #7 “jumbo” yarn, but it is comparable in size to the Sashay and other #6 yarns I’ve worked with. Paton’s Cobbles in “Moon Rock” is the color used in the brown and white cowl in the pictures above.
Bow or flower accessory This is the one I used for my brown and white cowl, but you can use whatever you like.)
Large-eyed yarn needle
Scissors
Sewing needle and thread, or hot glue gun
Stitches Used:
sl st = slip stitch
ch = chain
sc = single crochet
Additional Terms:
BLO = back loop only. Work all stitches for the round in the back loop. How to find the back loop: look at the top of your stitches, they should look like sideways V’s. The part of the V that’s the closest to you is the front loop, and the other one is the back loop.
Working in the back loop will create a small line around the outside of the cowl. You’ll be working in the front loop when slip stitching the ruffle on.
Gauge:
4 stitches in 4″
Measurements:
24″ around by 4.5″ tall
Additional notes:
-ch 1 at beginning of round does not count as a stitch
-This cowl will fit pre-teens/teens and adults the way this is written. If you would like to make it to fit kids, reduce your starting chains by two or four stitches. This would give you a starting number of 26 or 28. You could even make it smaller, but you may want to leave off row four or seven, depending on how small the child is. Because of the danger of choking, please do not make this with the glue-on/sew on flower accessory for children ages three and under.
Easy “Sashay” Cowl Pattern for Beginners (US Terms):
Click here to purchase an ad-free, print-optimized PDF of this pattern on LoveCrafts
https://www.lovecrafts.com/en-us/p/sashay-around-easy-cowl-crochet-pattern-by-kirsten-holloway
With 16mm hook, and Sashay yarn,
Round 1: ch 30, join with sl st to form a circle.
Rounds 2-4: ch 1, sc in each st around, join with sl st to first sc. (30)
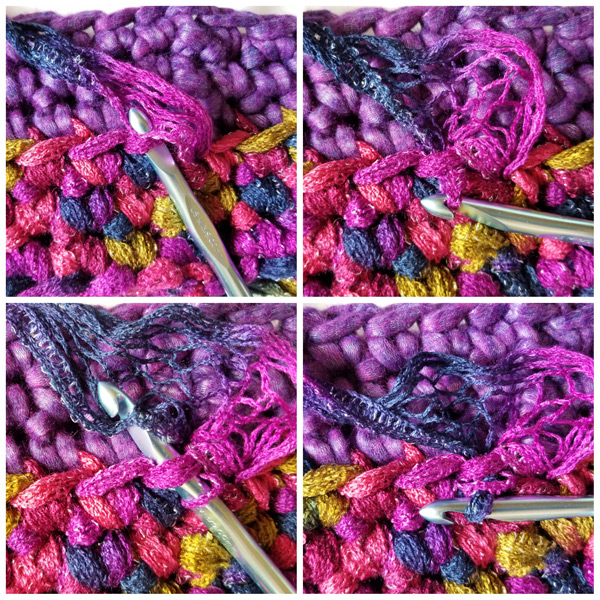
Join next color through last sc stitch of Round 4 as demonstrated in the images below. Pull the old color forward so the end is hanging out the front of the cowl, but don’t cut it yet! You’ll be picking it back up in a couple of rounds. Join the new color with a sl st to first sc of round as shown at the bottom of the image below. Now you’re ready to begin Round 5.

Round 5: ch 1, working all sts of round in BLO, sc in each st around, join with sl st to first sc. (30)

Round 6-7: ch 1, sc in each st around, join with sl st to first sc.
Fasten off second color. You can either fasten it off with a slip stitch, or try the invisible join described in the image below. If done correctly, you won’t be able to tell where you joined the round when you finish!

Go back to Round 4 and pick your Sashay yarn back up (your cowl should still be upside down). Note: If you have made a typical “Sashay” scarf before, this next part will be very similar to the steps you took to create that project.
Using an 8mm hook (a smaller hook of your choice should work if you don’t have an 8mm), and working in the FLO, sl st into the first loop and pull up the thick part of the Sashay yarn, move forward an inch or inch and a half along the working yarn, put your hook through the thick part of the yarn and pull it through your first loop again, move to the next stitch *2 sl sts in each front loop only, being sure to move an inch or so up the Sashay yarn each time; repeat from * around, creating a ruffle around the middle of the cowl.
Fasten off securely, and weave in all ends.
If you’re a kid, ask an adult to use hot glue to attach a bow or flower accessory to the cowl, or use a needle and thread to sew the accessory on. If you’re an adult, you’re on your own. 😉 If you use a hair clip bow you can simply clip it to the cowl. The nice thing about this is that it can be unclipped and worn separately when not wearing the cowl. I love things that have multiple uses!
I hope you have had fun with this easy cowl tutorial! If you’d like to try another easy cowl pattern check out this 1 skein project.
Want more gorgeous crochet patterns, and a little encouragement for your day? Sign up for my newsletter here! That way you’ll never miss out on special events, or freebies I’m offering.
JOIN ME ON SOCIAL MEDIA
I would love to see a picture when you’re done, so please feel free to come by my Facebook group and show off your project! Be sure to tag @kirstenhollowaydesigns when you share pictures of your finished cowl on Instagram so I can see what you’ve made too!
You can also follow me on Facebook, Pinterest, Instagram, and Ravelry for more beautiful crochet patterns.
PATTERN TERMS AND CONDITIONS:
You are welcome to share the link to this pattern, using one image of your choice, on your site, but please do not share the written patterns themselves, this includes my Ravelry downloads or translations of these patterns, or use additional images. You do not have permission to use my images by themselves to create pinnable graphics for Pinterest, however they may be included in a roundup pin if there are 4 or more other patterns. If you sell finished items online, please do not use my pictures for your listings. I’m positive that your work is of high enough quality for you to sell the finished piece. Have confidence in your abilities! <3 Thank you!
This pattern was made to be used by individuals, and small business crocheters alike. Selling your finished pieces in boutiques, at farmer’s markets, craft shows, and other local events is encouraged! The only thing I require is that this pattern not be used commercially to produce hundreds of thousands of copies.
If you enjoyed this pattern or found it useful, why not share a link to this post with your friends?


